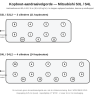




Solis 20 & 26 operation & starting (MVL3E/MVS3L2)
Solis 20 & 26 operation and starting: even in cold weather
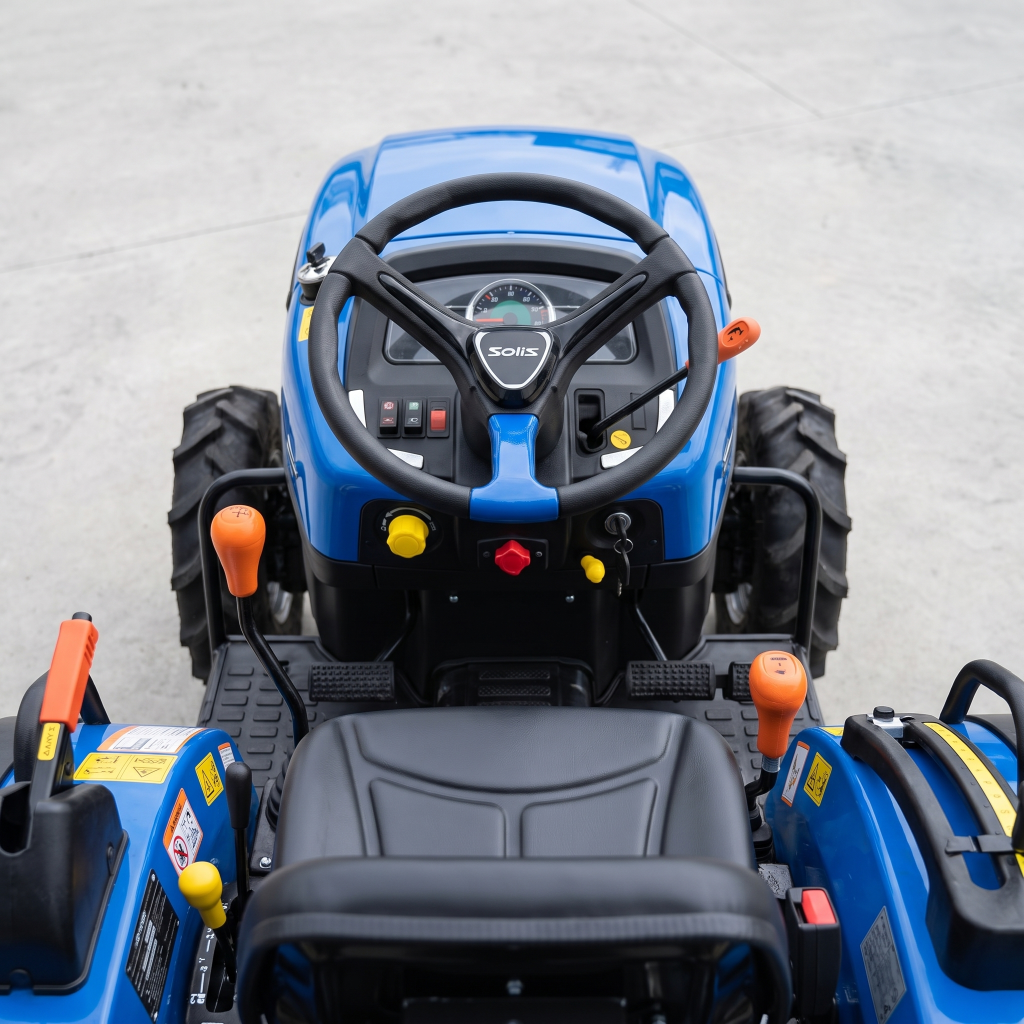
How do you properly start a Solis 20 or Solis 26 and what should you do in cold weather? In this blog, we'll walk through the ignition switch, the glow plug procedure, and the key controls — so you can always get it running quickly and safely without overloading the starter motor or battery.
Suitable for the entire series: Solis 20, Solis 20XL, Solis 26, Solis 26XL and Solis 26HST.
Solis 20 & 26 ignition switch and glow plugs
The ignition switch has several fixed positions. The middle position handles preheating: this heats up the glow plugs so a cold engine starts easily.
| Position | Function |
|---|---|
| OFF | Everything off; key can be removed |
| ON + HEAT | Power to the circuits; glow plugs heat up |
| START | Starter motor runs; key springs back to ON |
Starting the Solis 20 & 26 — step by step
- Put the gear lever in neutral.
- Put the range lever in neutral.
- Press the clutch fully down (it's fitted with a clutch safety switch).
- Check that the PTO lever is in neutral.
- Release the handbrake (if engaged) and start.
Solis 20 & 26 cold start (below 0 °C)
In freezing temperatures, make good use of the preheating function:
- First carry out the neutral and clutch steps.
- Turn the key to the HEAT position and wait until the glow plug indicator goes out.
- Then turn to START.
- Won't it start? Repeat the preheating, wait 5-10 seconds, and try again.
Important rules to protect the starter motor and battery:
- Never hold the key longer than 5-8 seconds in the start position.
- Wait at least 1 minute after every two failed attempts.
- Do not use starting fluid or ether — the tractor has its own cold-start system, and ether can damage the engine.
- Make sure there's enough fuel in the tank (Solis 20 min. 5 L, Solis 26 min. 6 L) to prevent air bubbles.
Solis 20 & 26 key controls
The two models operate largely the same way, with a few differences due to the different transmission:
- Shuttle (Solis 26 only): the shuttle lever lets you switch between forward and reverse without changing gears — ideal for loader and mower work.
- Speed range (H-M-L): choose high, medium, or low range; only shift after starting.
- Response valve (transport lock): this sets the lowering speed of the lift. Turning it fully closed (clockwise) locks the lift during transport — always do this when transporting implements.
- Clutch: pedal released = drive engaged. Let the clutch out smoothly.
Engaging the PTO on the Solis 20 & 26
Always engage the PTO smoothly and safely:
- Bring the engine speed back to idle.
- Make sure the PTO switch is set to OFF.
- Set the PTO lever to the desired position (on the Solis 26: PTO 1 = 540 at 2565 rpm, PTO 2 = 540E at 2083 rpm).
- Turn the PTO switch ON.
- Then increase the engine speed to the desired level.
On the Solis 26, the PTO switch turns off both the rear and mid PTO simultaneously. The external PTO control switch lets you operate a PTO implement while standing next to the tractor — handy for stationary work. Fit the PTO cap when the PTO is not in use, and only disconnect implements with the PTO switched off, the engine stopped, the key removed, and the handbrake engaged.
Solis 20 & 26 differential lock
The differential lock locks the rear axle so both wheels turn together if one starts to slip — useful on wet or slippery terrain.
- First press the clutch, drive slowly, then fully press the differential lock pedal.
- Preferably engage the lock before the wheels start to slip, and only when driving straight ahead.
- Release the pedal to disengage; if that doesn't work, briefly brake the slipping wheel.
- Important: never use the differential lock while cornering or above approx. 6 km/h — this will damage the differential.