



Yanmar Ke Series Controls: Starting, Driving and PTO Step by Step
Just bought a Yanmar Ke-1, Ke-1D, Ke-2D or Ke-3D — often without an English manual included? In this article, we explain the controls of the Yanmar Ke series step by step: starting (even in frost), driving with the continuously variable transmission, the PTO and the brakes.
Suitable for the whole series: Yanmar Ke-1, Ke-1D, Ke-2D and Ke-3D.
Starting the Yanmar Ke: the correct sequence
- Take a seat and fasten the seatbelt — the starter only works safely from the driver's seat.
- Set the main gear lever, the range lever and the PTO lever to neutral, and the lift lever to "down" or neutral. Apply the parking brake.
- Pull the throttle lever fully to "fast".
- Press the clutch pedal fully down — the Ke series has a safety start switch: without the pedal pressed, the starter motor won't turn.
- Turn the key to "run": the glow plug light comes on and goes out after 3 seconds. Then turn further to "start".
- Release the key as soon as the engine runs. Never use the starter motor for more than 10 seconds at a time; if it doesn't start, wait at least 1 minute before trying again.
Stopping: on the Ke-1D, Ke-2D and Ke-3D you switch off the engine with the key. The Ke-1 also has a separate stop button — don't forget to push it back after use, otherwise the engine won't start next time.
Cold weather: warming up according to the factory table
In frost, the shared transmission/hydraulic oil in particular needs time. Yanmar prescribes these warm-up times (with the parking brake applied):
| Outside temperature | Warm-up time |
|---|---|
| 0 to −10 °C | at least 10 minutes |
| −10 to −20 °C | at least 20 minutes |
| below −20 °C | at least 30 minutes |
Keep the RPM above 1500 for charging the battery; at idle, the alternator barely charges.
Driving: continuously variable, without using the clutch
The main lever continuously controls the speed, both forward and reverse — you can set off and change speed without touching the clutch pedal. If you press the clutch pedal, the main lever automatically springs back to neutral. You shift the range lever (low/high) with the main lever in neutral; if the range won't engage, move the main lever slightly and try again. Avoid moving the main lever abruptly, especially with an implement in the ground.
Dashboard: what the lights mean
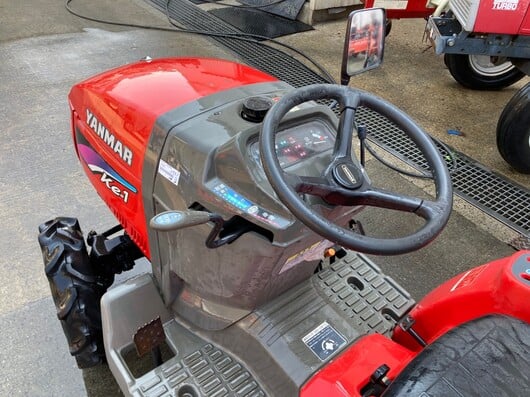
- Oil pressure light: lights up when the ignition is on, goes out as soon as the engine runs. If it comes on during work: stop immediately and find the cause.
- Charge light: should be off while running.
- Water temperature light: lights up in case of overheating — stop work and check the cooling.
- Brake coupling light: stays on as long as the left and right brake pedals are not coupled. On public roads, the pedals must always be coupled.
- Glow plug light: lights up for 3 seconds after switching on the ignition.
PTO, brakes and differential lock
The PTO lever has two speeds (569/900 rpm); on the 4WD models there is also a reverse setting (427 rpm) behind a lever lock. Always engage the PTO with the clutch pedal fully depressed and with reduced engine speed. The brake pedals work independently on the left and right for short turns at the headland; couple them with the coupling plate before going onto the road. Use the differential lock (pedal) only when driving straight ahead on slippery or wet ground — never in a turn.
🔧 Parts tip from Shop4trac
- Glow plug Yanmar 3TN63 / 3TN66 / 3TNE68 (SKU-551216) — if the glow plug light goes out but it still starts poorly when cold, replace all three glow plugs.
- Starter motor 12V 0.9 kW (SKU-129035) — if you have starting problems, first check the safety start switch (clutch pedal!).