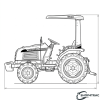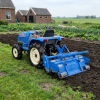




Iseki SIAL TF15, TF17 and TF19 Controls Explained – All Buttons and Levers
Iseki SIAL TF15, TF17 and TF19 Controls Explained
All buttons, levers and procedures explained in plain English — from starting up to hydraulics.
The Iseki SIAL manual is written in Japanese, which makes things difficult for many owners. In this article, we explain all the controls in clear English — from the ignition key to the hydraulic lever.
Dashboard and Instruments
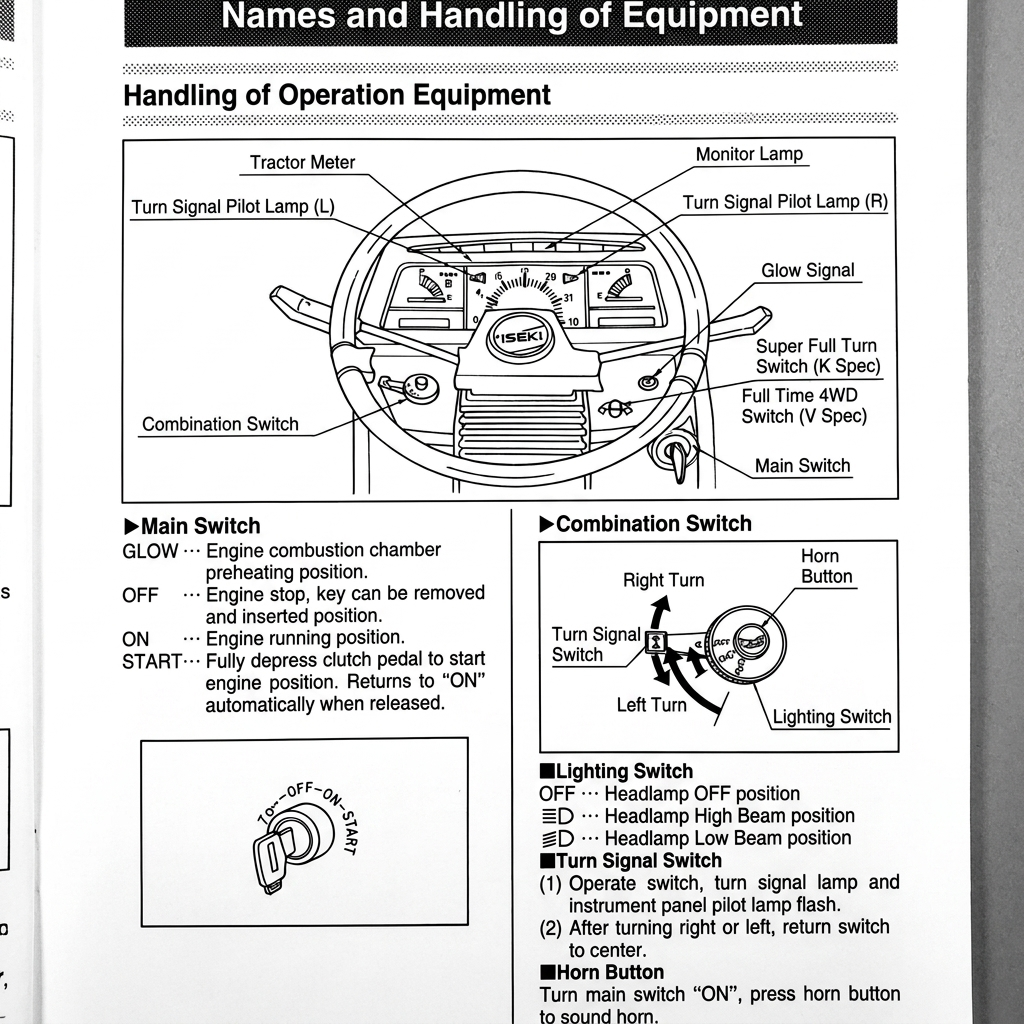
The SIAL's dashboard is located above the steering wheel and includes the following instruments:
Tachometer (RPM gauge): Shows engine RPM plus top speed in the highest gear. At the bottom is the hour meter (5 digits, last digit = 1/6 hour).
Fuel gauge: Only works when the ignition key is in the "ON" position.
Water temperature gauge: "C" is cold, "H" is hot. If the needle enters the red zone ("H"), stop immediately and let the engine cool down. See the troubleshooting blog for causes.
Warning Lights
| Symbol | Name | Meaning |
|---|---|---|
| 🔋 | Battery warning | Lit while driving? The alternator isn't charging. Check the V-belt and alternator. |
| 🛢️ | Oil pressure warning | Lit while driving? STOP IMMEDIATELY. Check oil level and lubrication. |
| ✱ (K version) | Super full-turn active | Lit when super full-turn is engaged and the PTO is in neutral. |
| PTO (K version) | PTO active | Lit when the PTO lever is in position 1, 2, or 3. |
| 🔵 (WX version) | Backup active | Backup function is available and engaged. |
| 💡 | High beam | Headlights are set to high beam. |
Main Switch (Ignition Key)
The ignition key has four positions:
| Position | Function |
|---|---|
| GLOW | The glow plugs in the combustion chamber are preheated. Wait until the glow indicator light goes out. |
| OFF | Engine off. Key can be removed. |
| ON | Engine running. Instruments active. |
| START | Starter motor running. Release as soon as the engine starts — the key automatically springs back to ON. |
Preheating times by outdoor temperature:
| Temperature | Glow time |
|---|---|
| 5°C and above | Not needed |
| 0°C – 5°C | ~10 seconds |
| -5°C – 0°C | ~20 seconds |
| Below -5°C | ~30 seconds |
Driving Controls
Throttle Pedal and Throttle Lever
The SIAL has both a throttle lever (left side, manual) and a throttle pedal (right side, foot-operated). They're linked: the pedal overrides the lever setting. Use the throttle lever during field work to maintain a constant RPM. Use the throttle pedal on the road.
Clutch
Left pedal. Pressing = clutch disengaged (neutral). Releasing = drive engaged. For long-term storage, you can keep the clutch disengaged using the clutch cutoff arm — this prevents the clutch plate from rusting in place.
Brakes
The SIAL has two independent brake pedals — left for the left rear wheel, right for the right rear wheel. When turning in the field, you can brake one side for a tighter turn.
Parking Brake
First lock the brake pedals together with the connecting bracket. Press both pedals down and push the lever down to lock. The parking brake releases automatically when you firmly press the brake pedals.
Gearbox
The SIAL has a main gear lever and an auxiliary gear lever:
| Auxiliary gear | Positions |
|---|---|
| N | Neutral |
| 1 | Low range |
| 2 | High range |
Combined with the main gear lever (3 positions + reverse), this gives 6 forward gears and 2 reverse gears. The G version (linear shift) has an additional forward/reverse switch, giving you 6 forward and 6 reverse gears.
Always shift with the tractor stationary and the clutch pressed in. Shifting while driving damages the gears.
4WD Switch
On the standard version: a lever next to the seat. "ON" = front-wheel drive engaged. "OFF" = rear-wheel drive only. Always engage 4WD with the clutch pressed in.
Use 4WD for: field work, slopes, wet ground, tilling, and entering/exiting the field. On paved roads: keep 4WD off — otherwise the front tires will wear unnecessarily fast.
Differential Lock (Deflock)
A pedal on the lower left. Pressing = both rear wheels turn at the same speed (locked). Releasing = normal differential. Use this if one rear wheel is spinning on slippery ground.
Hydraulic Controls
Control lever (lift lever): Pull back = implement up. Push forward = implement down. Stop halfway = implement stays at that height (position control).
Descent speed regulator: A dial under the seat. Turn clockwise = slower descent. Turn counterclockwise = faster descent. Fully clockwise = "lock" (implement cannot lower). Set the descent speed to 1.5-2 seconds for tilling work, faster for plowing work.
PTO Controls
The PTO lever is located to the left of the seat. Always shift with the clutch pedal pressed in.
| Position | PTO action |
|---|---|
| N | Neutral — PTO stationary |
| 1 | Low speed — heavy-duty work |
| 2 | Medium speed — normal work |
| 3 | High speed — fine work |
Starting the Engine — Step by Step
- Sit in the seat and check that the parking brake is engaged.
- Lower the implement to the ground using the lift lever (not applicable on the WX version).
- Press the clutch in.
- Set the main gear lever to neutral.
- Set the PTO lever to neutral.
- Pull the throttle lever halfway.
- Insert the key into the ignition and turn to "ON." Check that the oil pressure and battery warning lights are lit.
- Turn the key to "GLOW" and wait for the appropriate time (see table above).
- Turn further to "START." Release as soon as the engine starts.
- Check that the oil pressure and battery warning lights have gone out.
Do not run the starter for more than 10 seconds at a time. If the engine doesn't start, wait 10 seconds and try again. The clutch must always be pressed in — otherwise the engine won't start (safety switch).
Stopping the Engine
- Reduce the engine speed to idle.
- Turn the ignition key to "OFF."
After prolonged heavy work: let the engine idle for 5-10 minutes before switching it off. This prevents thermal stress.
Emergency stop: If the engine doesn't stop with the key, open the engine hood and press the emergency stop button (located centrally on the fuel pump).
Warming Up Is Essential
After starting, you must let the engine warm up at idle speed. The duration depends on the outdoor temperature:
| Outdoor temperature | Warm-up time |
|---|---|
| 0°C and above | 5-10 minutes |
| 0°C to -10°C | 10-20 minutes |
| -10°C to -20°C | 20-30 minutes |
| Below -20°C | 30 minutes or more |
Warming up is not optional — it's essential. In cold weather, the hydraulic oil is thick and viscous — if you throttle up immediately, the hydraulic pump can be damaged.
Looking for parts for your Iseki SIAL?
Shop4trac supplies filters, gaskets, clutch kits and more. Fast delivery from the Netherlands.