



Iseki TK rear lift, PTO & hydraulics: operation and implements
The rear lift, PTO, and hydraulics of the Iseki TK series together form the workhorse of these tractors. In this blog we explain how the position control and the lowering speed knob work, which PTO speeds are available, how much the lift can raise — and above all: which implements realistically match 21 to 38 hp.
Suitable for the entire series: Iseki TK21, TK25, TK29, TK33 (Japanese) and Iseki TK527, TK532, TK538 (European).
Iseki TK rear lift: position control
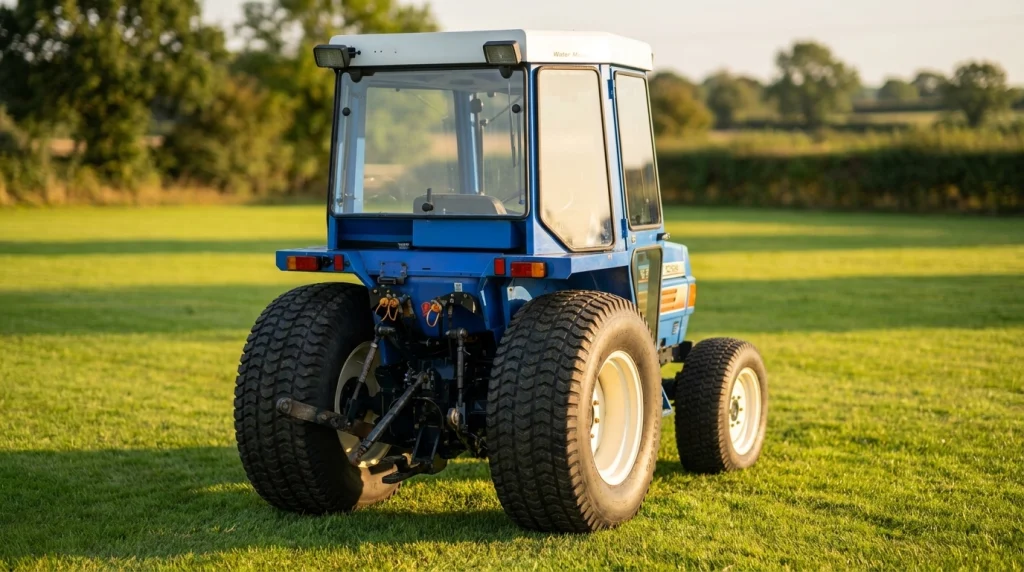
All TK models have a category 1 three-point lift with position control: the position of the lift lever corresponds to a fixed lift height, so an implement always returns to the same height. On the European series, draft control via the top link was also available as an accessory — with this, the lift automatically corrects for varying plow resistance. The right lift arm can be adjusted in length with a turnbuckle to level an implement, and the stabilizer bars keep the implement in check sideways.
Iseki TK lowering speed knob: small knob, big role
Below or next to the lift lever is the lowering speed control. This determines how fast an implement descends — a heavy tiller should be lowered in a controlled way, not dropped. When fully turned closed, it locks the lift: this is how the lift should be locked during transport and maintenance. Good to know: "the lift won't come down" is often simply a fully closed lowering speed knob. Check that first before thinking there's a fault (see Iseki TK troubleshooting).
Iseki TK hydraulics: pump, pressure and lift capacity
The hydraulic pump is driven directly by the engine and draws its oil from the transmission housing. Key figures from the European manual: main pump 22.8 L/min (TK527) to 23.7 L/min (TK532/TK538), relief valve at 150 bar, and a separate steering pump of 12.1–12.5 L/min for power steering. Lift capacity is 1300 kg measured at the ball ends; at 60–90 cm behind the balls (where the center of gravity of a real implement sits) you're left with roughly half of that in practice. Important for a healthy lift: the pump only delivers proper flow from around 1000–1500 engine rpm, and the oil must be at temperature and clean — see engine oil & fluids and filters.
Iseki TK PTO: speeds and use
The PTO shaft is a 35 mm shaft with 6 splines across the entire series. The Japanese series has four PTO gears plus a reverse setting:
| PTO setting | TK21/TK25 | TK29 | TK33 | Use |
|---|---|---|---|---|
| 1 | 565 | 573 | 565 | Tilling, hilling |
| 2 | 824 | 833 | 821 | Tilling (finer work) |
| 3 | 1060 | 1069 | 1053 | Trencher, crumbling |
| 4 | 1244 | 1252 | 1233 | Crumbling |
| R | 492 | 499 | 509 | Hilling work; do not till in firm soil |
The European series has an independent PTO with a hydraulically operated multi-plate clutch: 540 rpm at ±2390–2430 engine rpm and 1000 rpm at ±2430–2475 engine rpm — the common speeds for European implements. A mid-PTO for, for example, a mid-mount mower deck was available as an accessory. Rules of thumb: always connect and disconnect PTO implements with the engine stopped, keep the PTO guard fitted, and regularly grease the universal joint of the driveshaft.
Iseki TK: what can you do with 21 to 38 hp?
Engine power doesn't tell the whole story — what matters is PTO power and weight. As a guideline from the European manual: the TK527 delivers ±22.5 hp at the PTO, the TK532 ±26 hp, and the TK538 ±31 hp. This realistically gets you to:
| Implement | TK21/TK25/TK527 | TK29/TK532/TK33 | TK538 |
|---|---|---|---|
| Rotary tiller | 1.05–1.25 m | 1.25–1.50 m | 1.50–1.80 m |
| Flail mower | 1.05–1.25 m | 1.25–1.50 m | 1.50–1.60 m |
| Plow | 1-furrow | 1–2-furrow | 2-furrow |
| Tipping trailer (on flat terrain) | ±1.5 t | ±2 t | ±2.5 t |
| Wood chipper | up to ±10 cm branch | up to ±12 cm branch | up to ±15 cm branch |
These figures are indicative: soil type, driving speed, and implement weight also play a role. Heavy clay calls for a size smaller, light sandy soil may allow a size larger. With front or side implements, also keep an eye on the tractor's own weight: at ±1100–1300 kg these tractors are light, so front weights or wheel weights are no luxury when doing heavy lifting work.
Attaching an Iseki TK implement: safe and smooth
Position the tractor on flat ground, reverse until the lift arms are at the implement pins, first connect the left lift arm (fixed length), then the right (adjustable with the turnbuckle), and finally the top link. Level the implement with the right turnbuckle and limit sideways play with the stabilizer bars. When disconnecting: lower the implement to the ground, relieve pressure from the lift, and disconnect the driveshaft last.
Product tip: keep the lift healthy
- Filter set Iseki TK21 – TK33 | TK527 – TK538 (SKU-10081) — clean oil and filters are the recipe against lift problems.
- Front axle oil seal vertical TK21 – TK538 (SKU-96065) — for oil leakage at the steering knuckles.
- Front axle oil seal Iseki (SKU-96014) — second size for this axle family.