



Winterising a compact tractor, wheel loader or mini digger: the complete checklist for small diesel engines
Winterising your compact tractor is not a luxury: most of the expensive damage that shows up in spring does not happen while the machine is working, but during the months it stands idle. A cracked engine block from frozen coolant, a clutch plate rusted solid to the flywheel, a battery that has sulphated and died, injectors seized up from old diesel. All of it avoidable with a few hours of work in October or November.
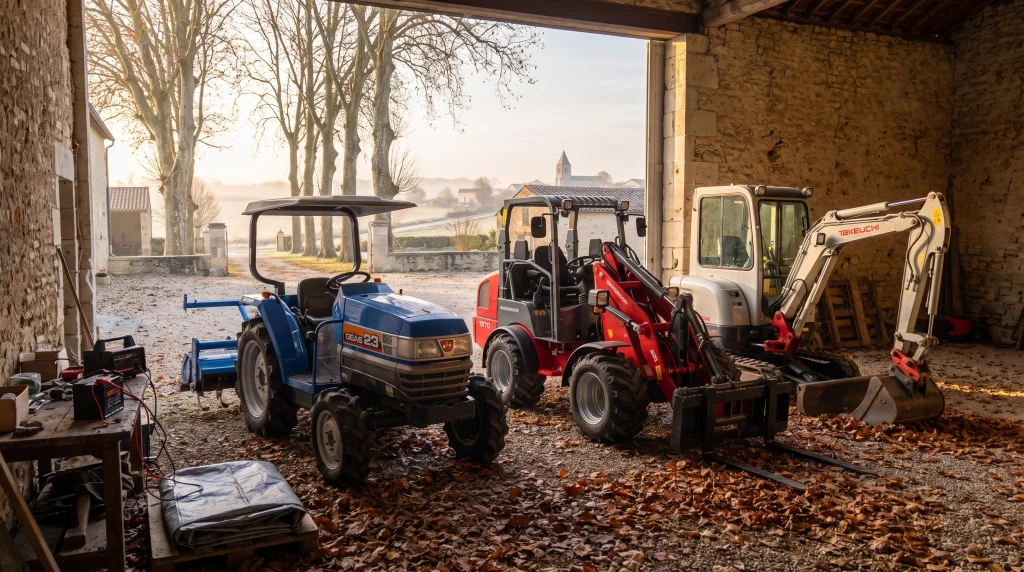
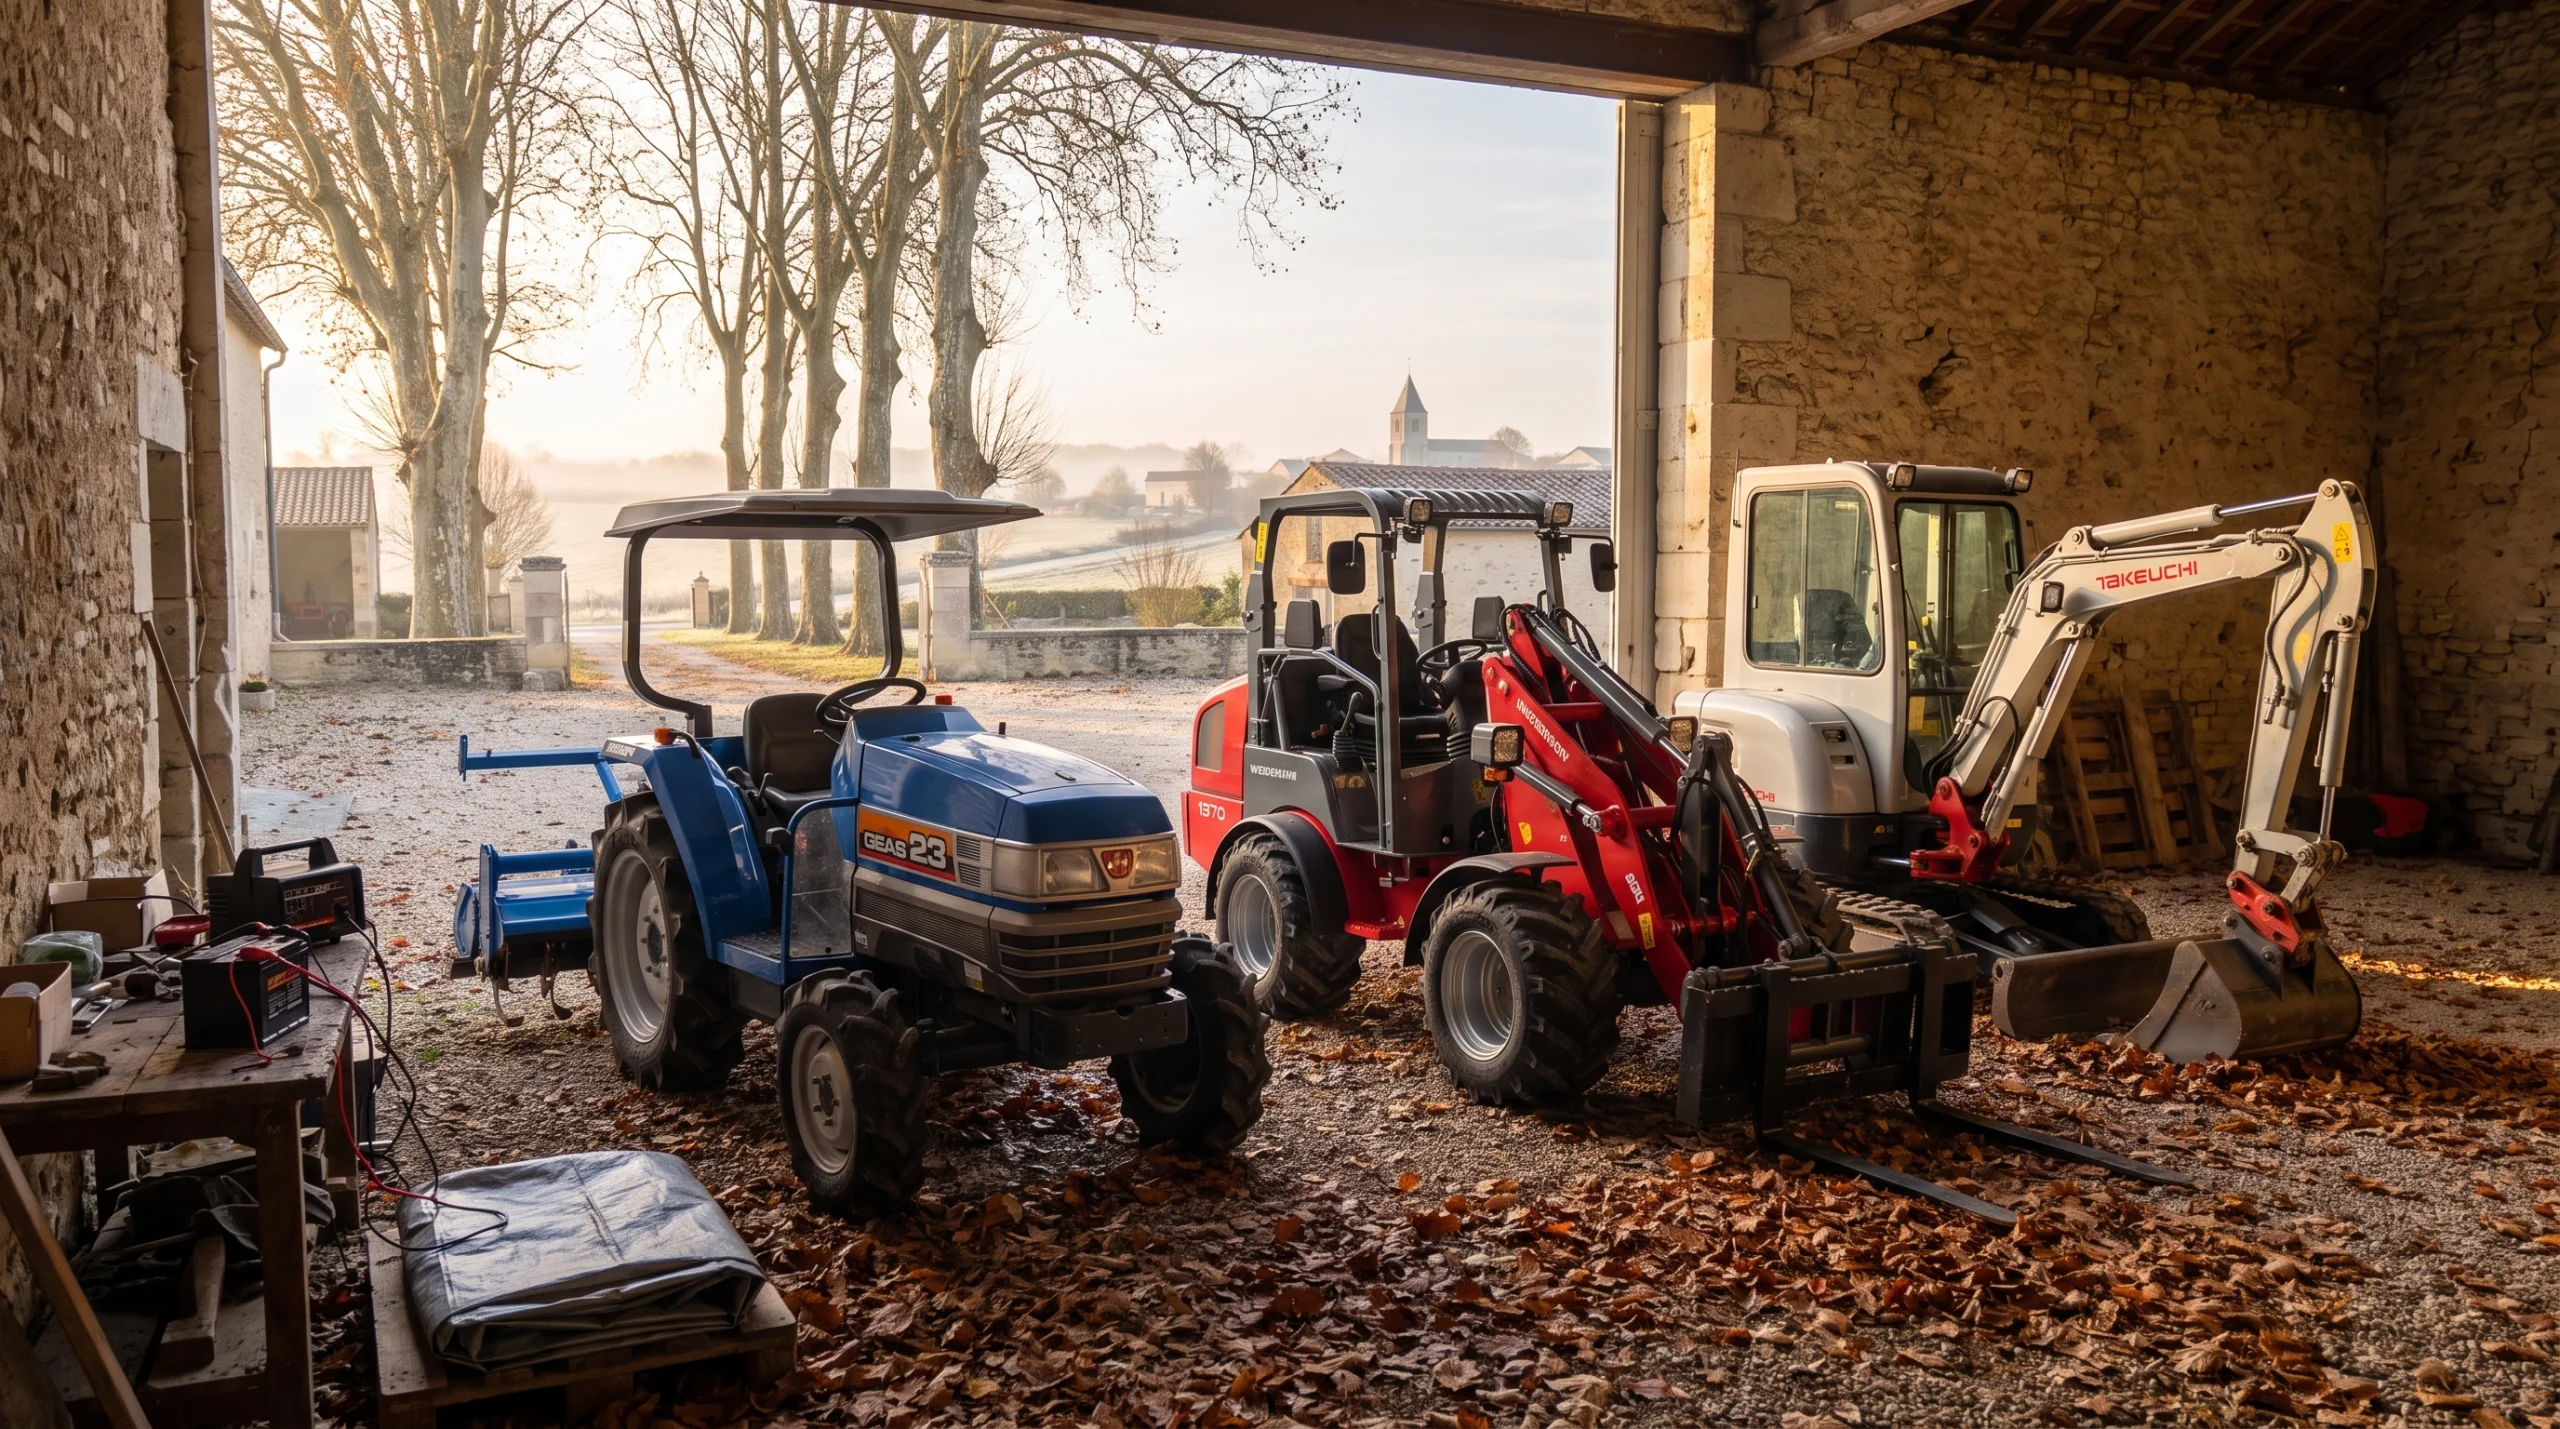
Which machines does this apply to? Anything with a small water-cooled diesel engine from Kubota, Yanmar, Iseki, Mitsubishi, Shibaura or Perkins: compact tractors, but just as much a Weidemann or Schäffer wheel loader, a Takeuchi or Kubota mini digger, a Bobcat, a generator or a boat engine. The engine does not care what is built around it. The checklist below is built from the storage procedures in the original Kubota and Iseki manuals, combined with the winter damage we see in practice.
Why storage is more dangerous than the season
A running engine keeps itself dry and lubricated. The moment it stops, the opposite happens: condensation forms in the tank, sump and exhaust, the oil film drains off the cylinder walls, acid from old engine oil eats away at bearings, and anything steel that is not sitting in oil starts to rust. Four types of damage keep recurring every spring:
| Damage | Cause | Cost (indicative) | Prevented by |
|---|---|---|---|
| Cracked block or radiator | Coolant frozen because of insufficient antifreeze | Often more than the machine is worth | Testing the antifreeze or draining the system |
| Seized clutch | Dry clutch plate clamped against the flywheel for months | Splitting the engine from the gearbox: days of work | Locking the clutch pedal down |
| Dead battery | Discharge and sulphation in the cold plus parasitic drain | New battery | Disconnecting it and trickle charging monthly |
| Poor starting, seized injectors | Water and bacterial growth in a half-full diesel tank | Filters, sometimes injector overhaul | Full tank, fresh filter, additive |
Step 1: cooling system and antifreeze, the single most important check
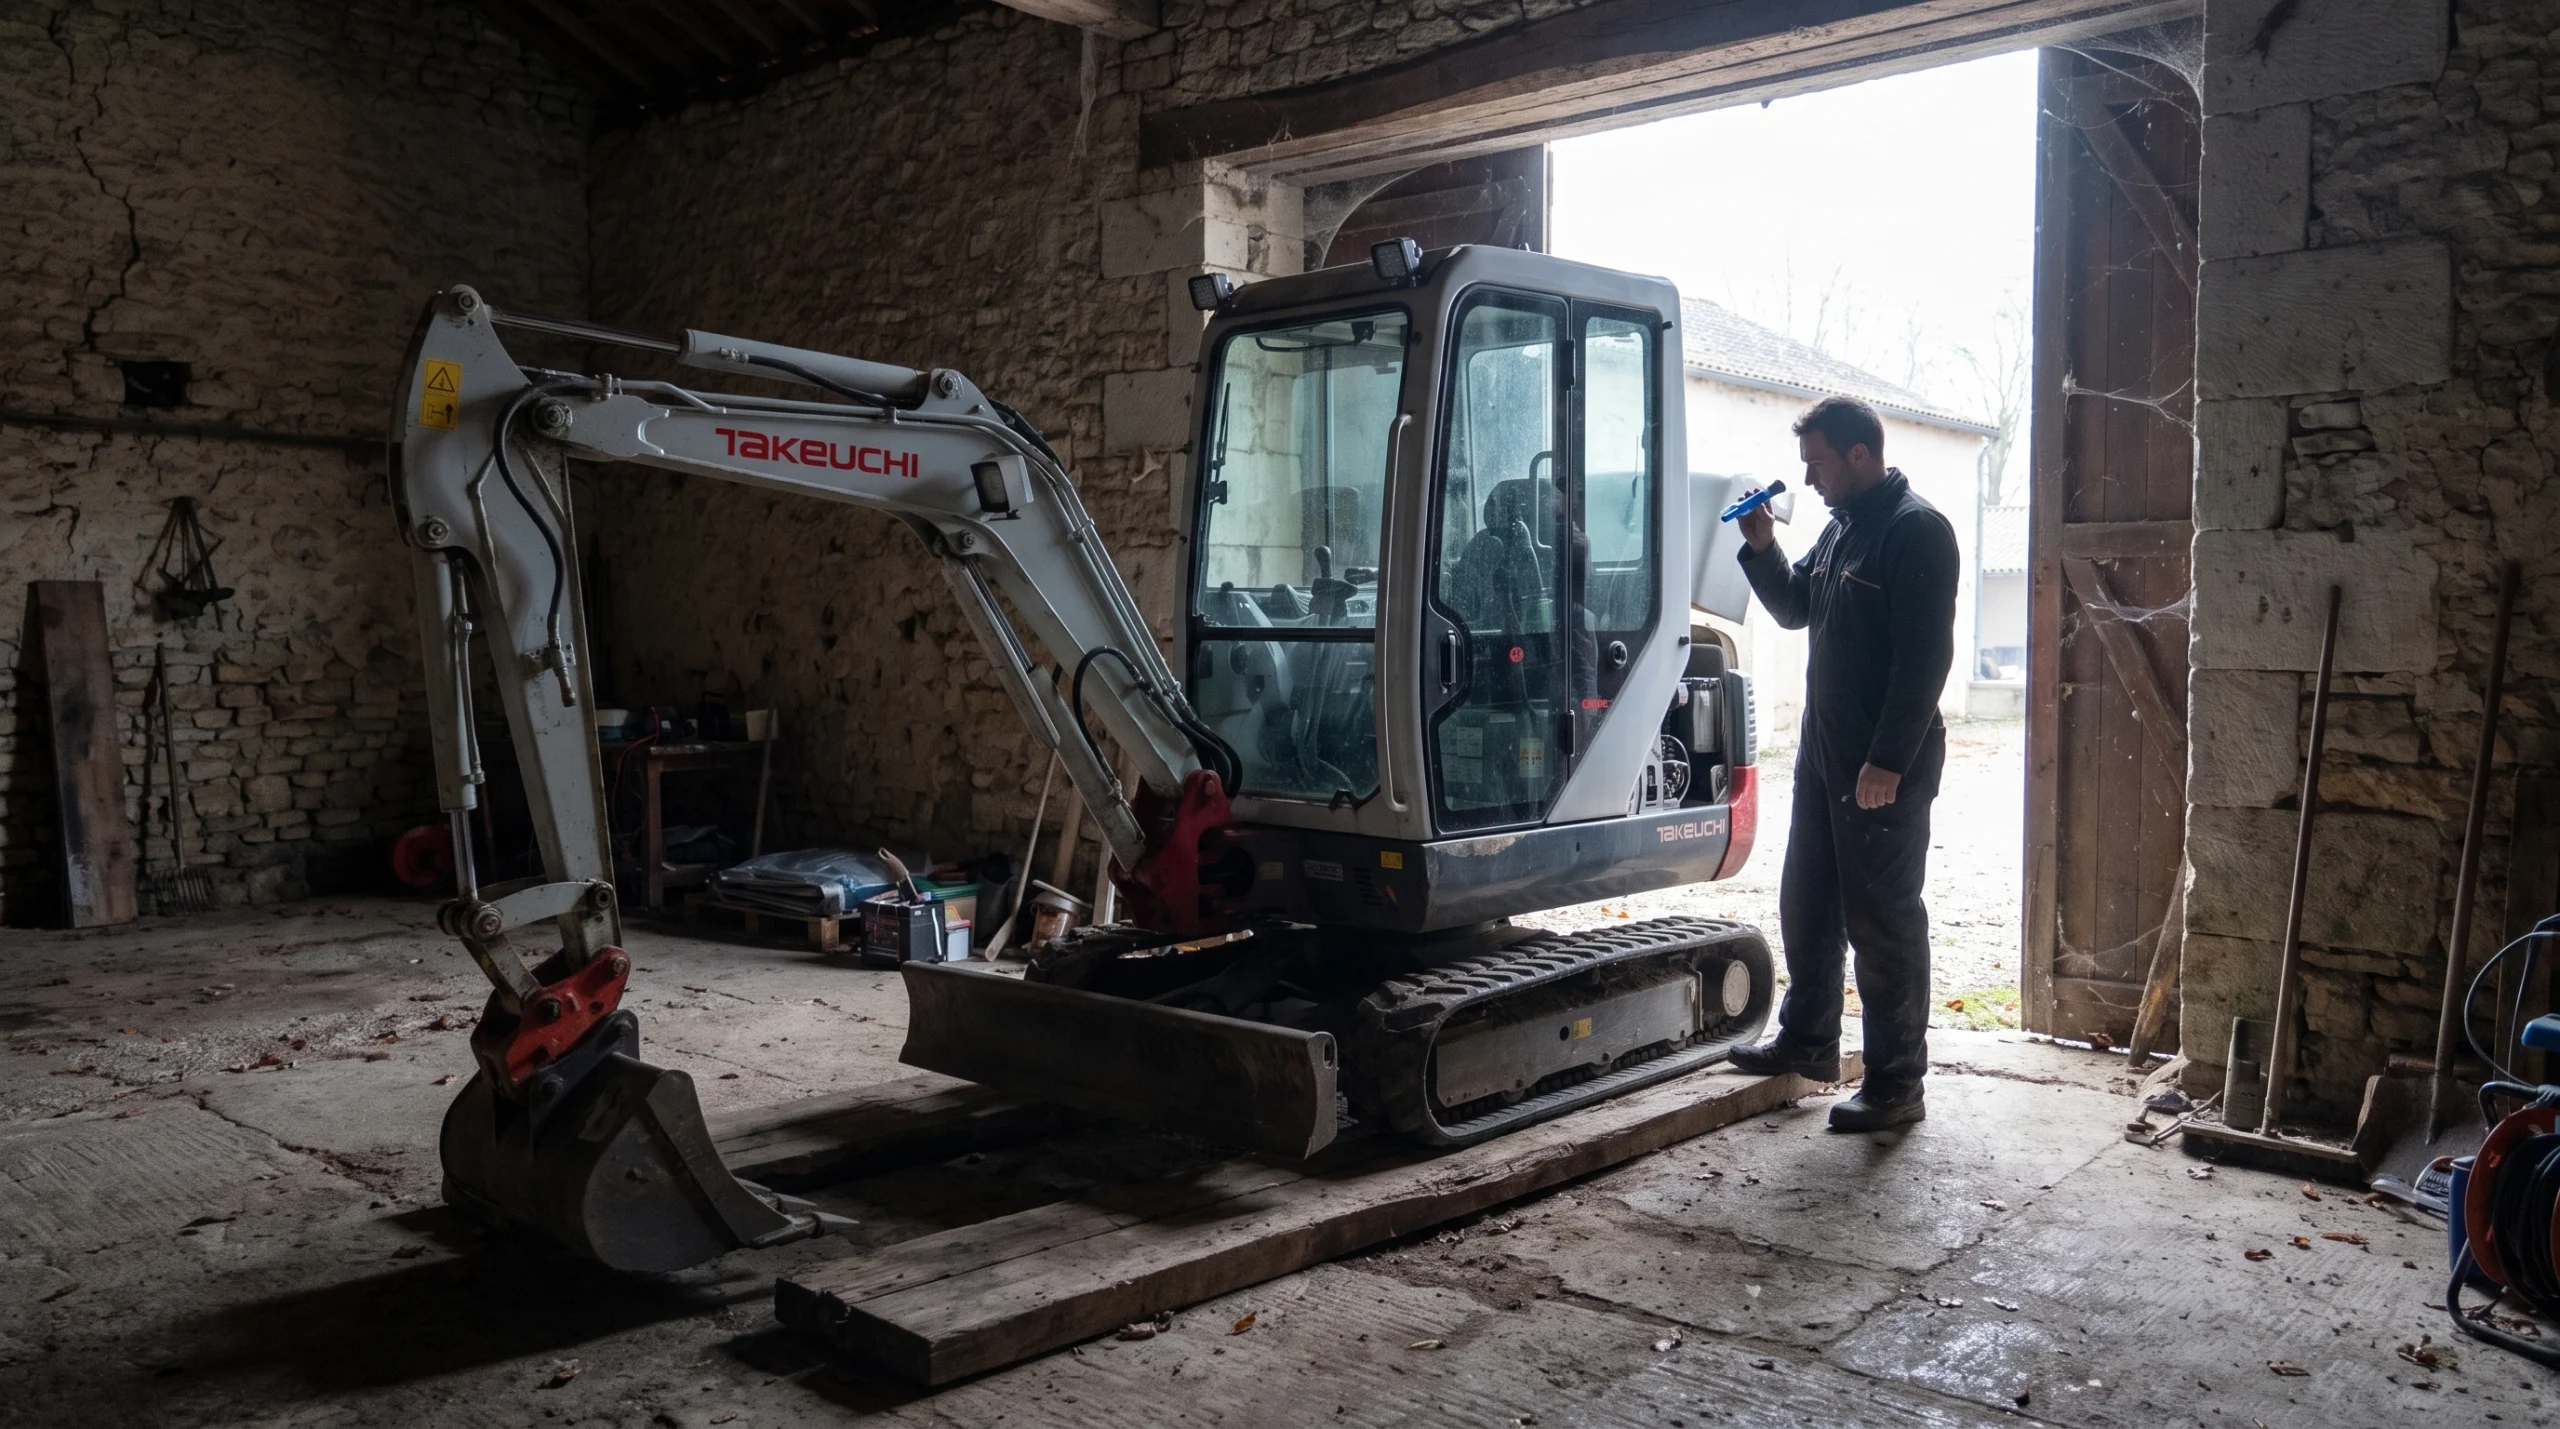
Start here, because this is the one point that can wreck an engine in a single frosty night. Use a refractometer or a simple antifreeze tester to check what temperature the coolant protects down to. Minus 25 degrees Celsius is safe for the UK and most of northern Europe; if you are further east or at altitude, go for minus 35 to minus 40.
- Grey imports from Japan: tractors fresh out of a shipping container surprisingly often run on plain water or a mixture that is far too weak. Never assume it is fine. Test it, or simply refresh it.
- Older than two years? Replace it. The frost protection stays reasonably good for a while, but the corrosion inhibitors in the coolant wear out. After that, the coolant starts attacking your block, water pump and radiator from the inside.
- Flush if the history is unknown. Rust, scale and oil residue from a head gasket that once leaked reduce heat transfer. Run a cooling system flush through it, drain, rinse with clean water, and only then add the new coolant.
- Radiator cap and hoses. A cap that no longer holds pressure lets the system boil sooner; replace hard or swollen hoses now, not out in the field in June.
- Draining the system instead of filling it? That is fine, but hang a clear tag on the steering wheel reading “NO COOLANT”. The Iseki manual specifies this literally, and with good reason: someone turning the key in March without checking will boil the engine dry within ten minutes.
Exactly the same applies to a wheel loader or mini digger. The engine is often built in deeper and the header tank is harder to see, so this check gets skipped even more often there.
Step 2: change the engine oil before storage, not after
This is the step most people get backwards. Used engine oil contains combustion acids, soot and water. Leave it in the sump all winter and those acids work on bearings and cylinder walls for months. So change it in autumn: drain the oil and oil filter, add fresh oil, and then run the engine for a while so the new oil reaches everywhere. The Kubota manual says 10 to 15 minutes at just over 2,000 rpm, the Iseki manual specifies 5 minutes at idle. The idea is the same either way: every bearing, camshaft and cylinder wall needs to go into winter under a fresh, clean film of oil.
For nearly all older Japanese compact tractor engines, a 15W40 engine oil (SKU-15W40) is the right choice. Check your own manual for the correct fill quantity; our maintenance blogs list these per model. While you are at it, also check the level of transmission oil, front axle and hydraulics. A milky colour means water in the oil, and that is something you want to know before the frost sets in.
Step 3: fuel system, full tank and a fresh filter
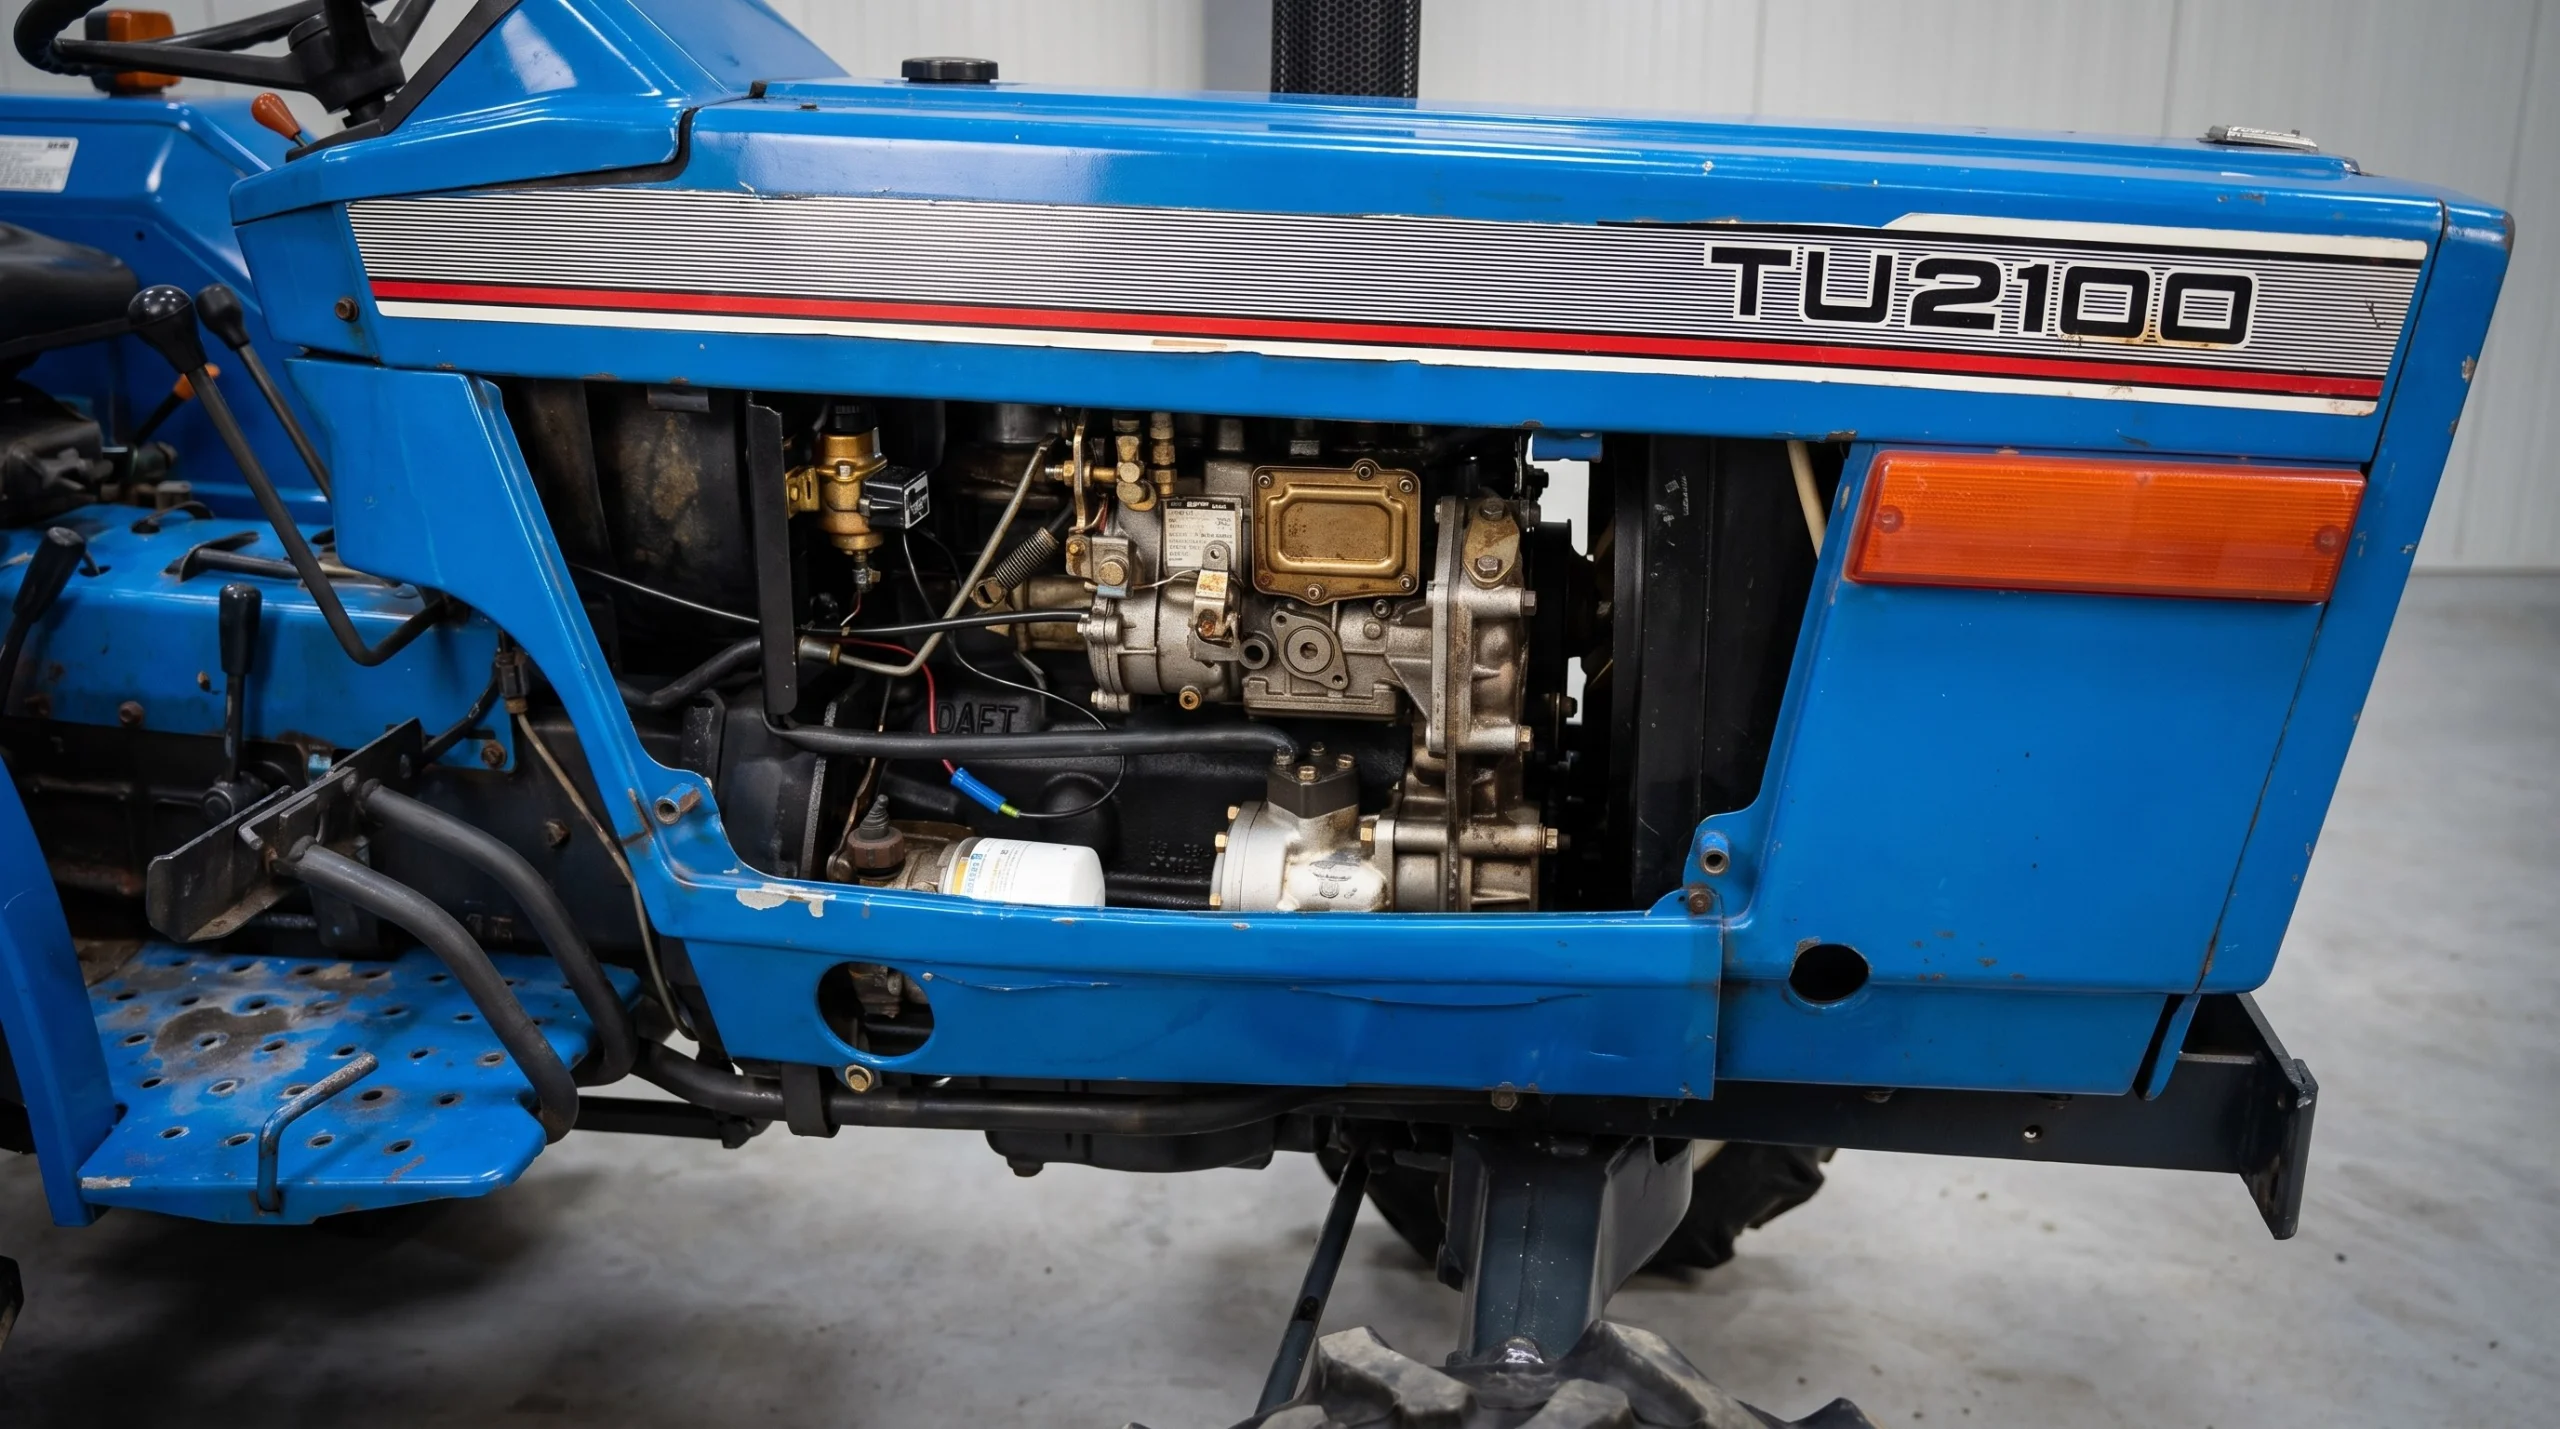
A half-full diesel tank breathes: with every temperature swing, moist air is drawn in and condenses on the tank wall. That water settles at the bottom, where bacteria and mould (diesel bug) grow over the course of winter. In spring, all of that ends up in your fuel filter and your injectors.
- Fill the tank right up. That leaves almost no air left to condense. Use winter-grade diesel if the machine still needs to run in winter or stands outside.
- Sediment bowl and fuel filter. Drain the sediment bowl under the fuel filter. If you see water or sludge, replace the filter element.
- Fuel cock closed. On machines fitted with one, turn it to OFF, as the Kubota manual instructs. That prevents a leaking injector pump or injector from filling the sump with diesel.
- Additive. A diesel injector cleaner (SKU-60003) in the last tankful before storage keeps the injector needles clean and raises the cetane number, which makes the first cold start in spring easier. Dose roughly 50 ml per 10 litres.
Step 4: lock the clutch so it cannot rust solid
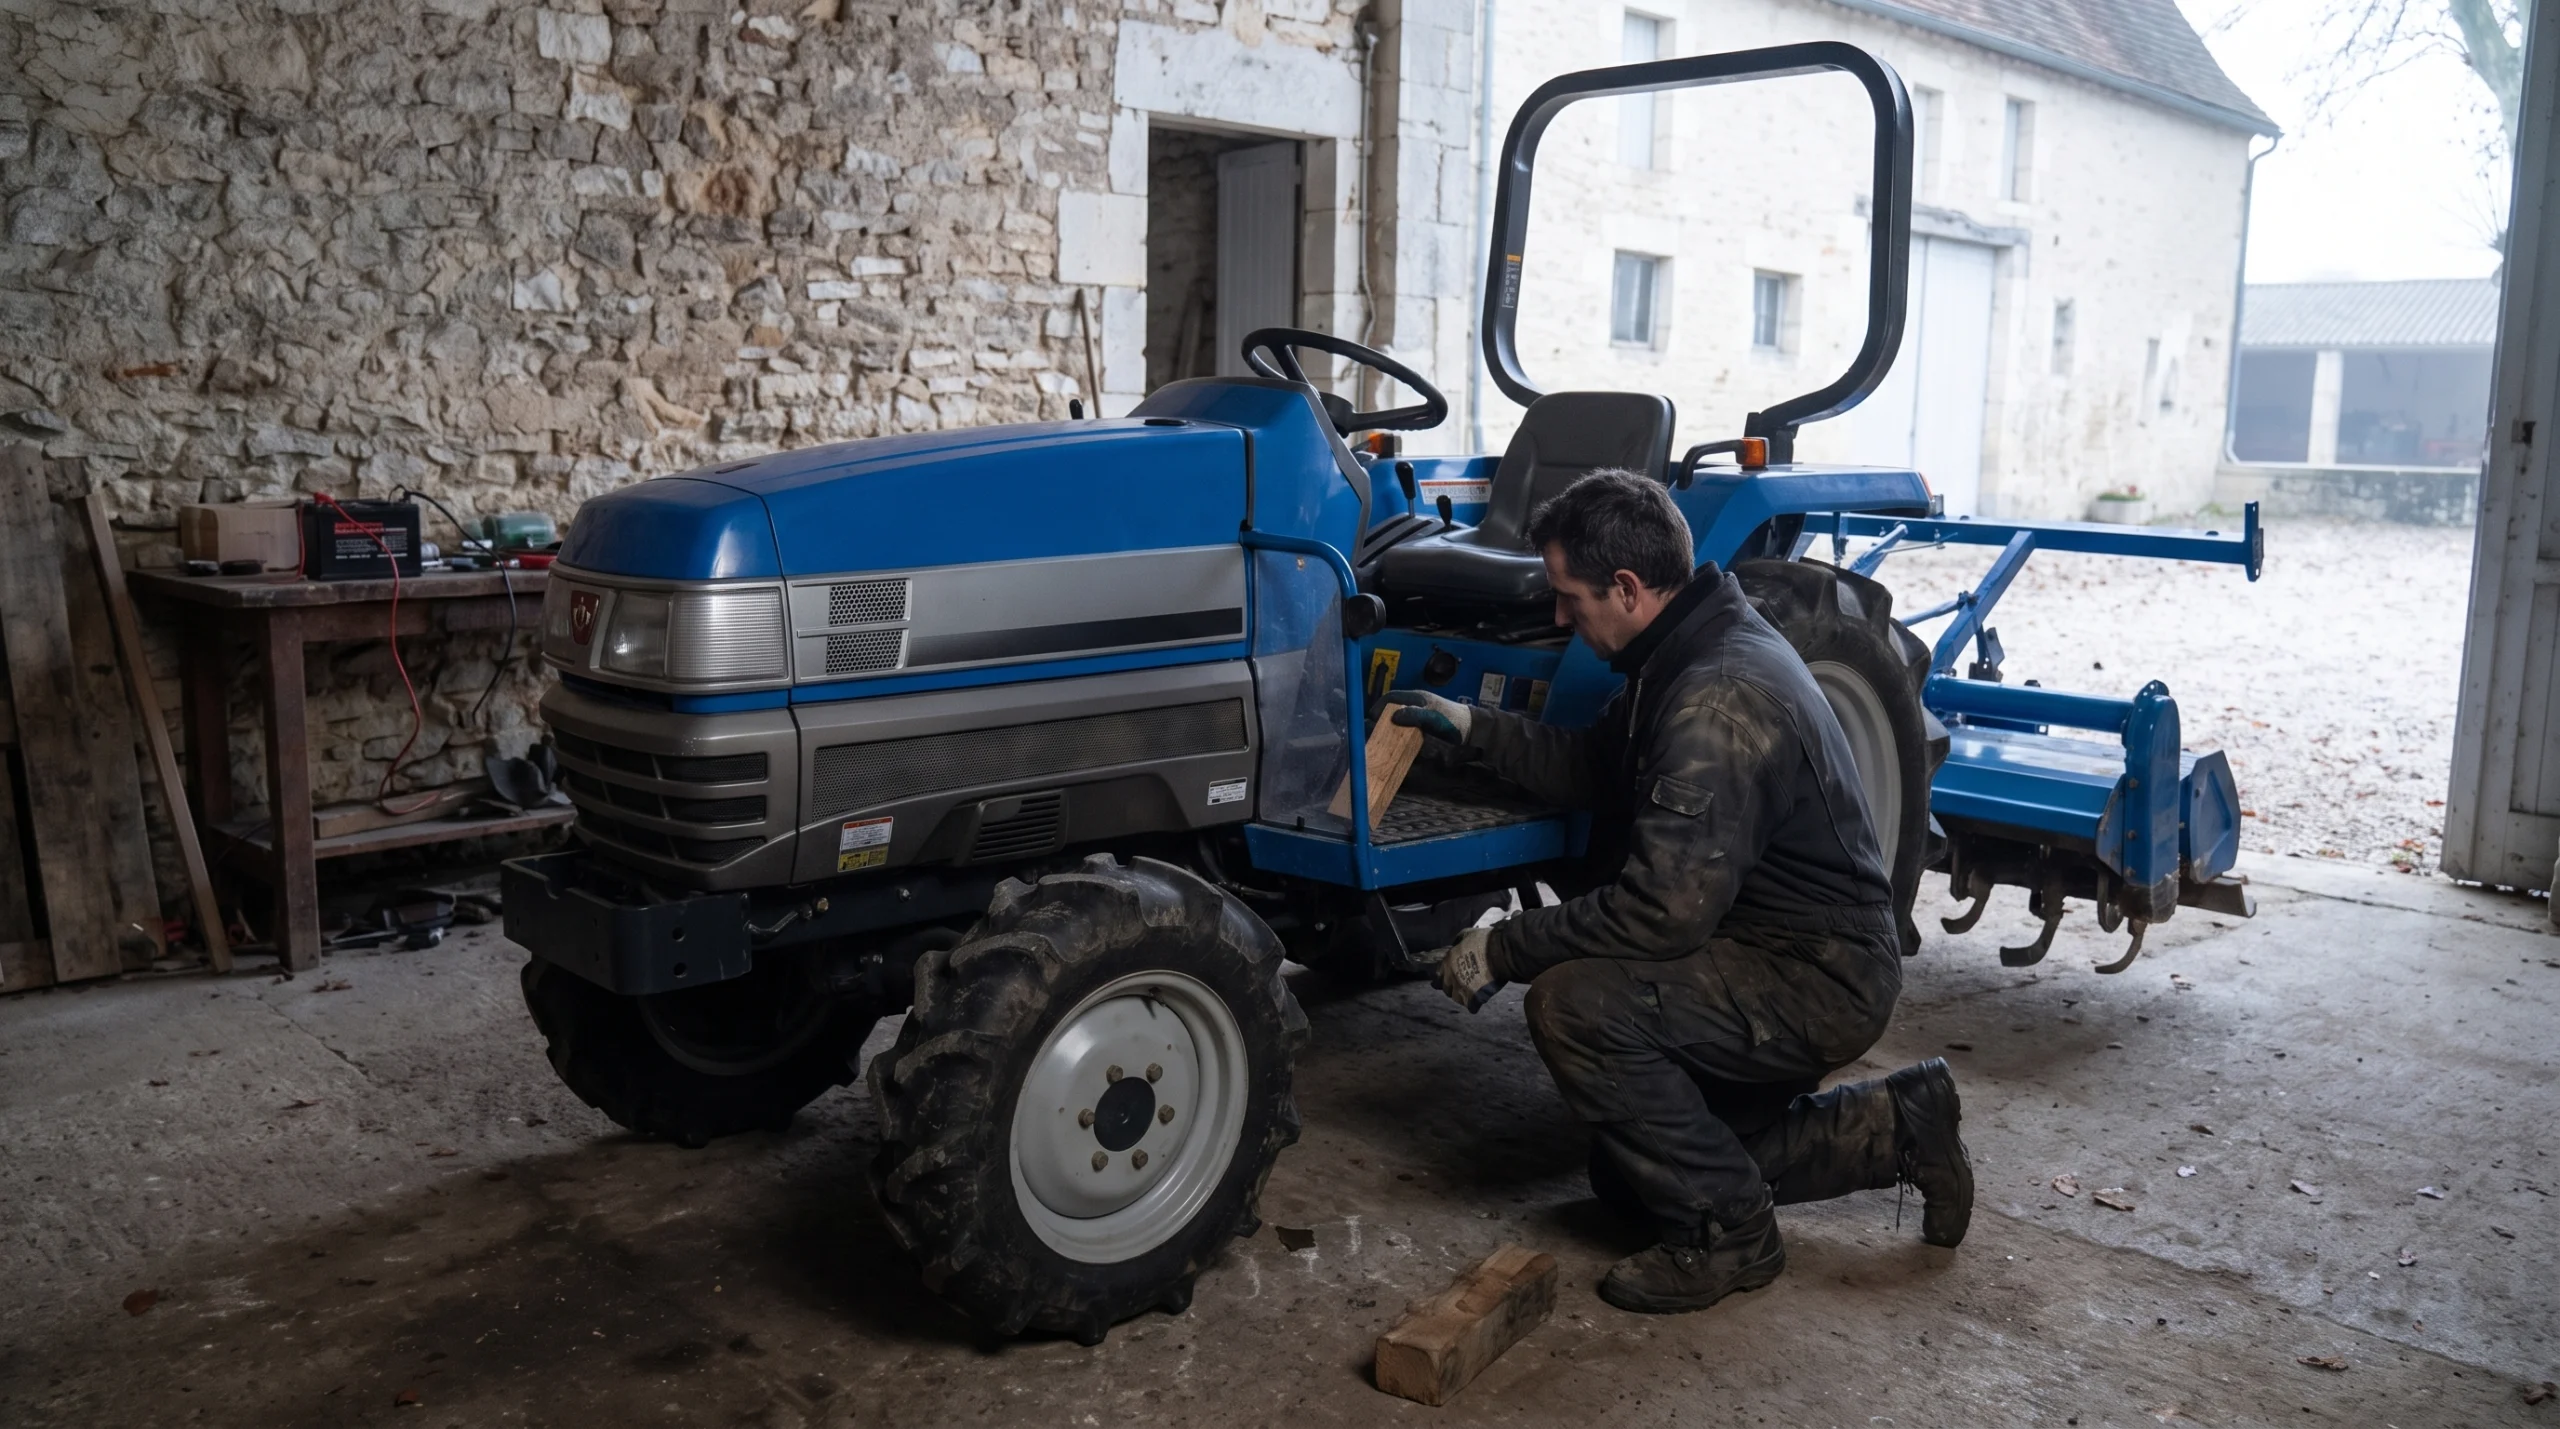
This is the point almost everyone skips, and the one that generates the most phone calls in spring. A compact tractor with a mechanical, dry clutch (virtually all older Kubota, Iseki, Yanmar, Mitsubishi and Hinomoto models) has a friction plate clamped under spring pressure between the flywheel and the pressure plate. That is fine while you are driving. Leave the machine standing for months in a damp shed, though, and the steel flywheel and pressure plate rust solid onto the friction material. The symptom in March: the engine starts, you press the clutch pedal, but the tractor will not come out of gear, or it creeps forward despite the pedal being fully depressed.
The fix is simple: press the clutch pedal down and lock it in the depressed position. That keeps the plate clear of the flywheel and pressure plate so nothing can rust together. Many Kubota models (including the B and GL series) have a retaining clip or hook on the pedal for exactly this purpose; the manual describes that procedure as a standard storage step. If your machine has no such lock, a block of wood wedged between the pedal and the seat, a ratchet strap from pedal to steering column, or a length of tube clamped in place all work just as well. When you bring the machine back into use: press the pedal fully down, the lock releases, done.
Two extra points from the same manual:
- Most tractors have a drain plug or drain hole under the clutch housing. Check whether water comes out; if the clutch housing is full of rainwater, locking the pedal will not save you.
- Do not leave the handbrake set for months on a machine parked on a flat floor indoors. Brake shoes clamped against the drum seize up just as readily. Use wheel chocks in front of and behind a rear wheel instead.
Does this apply to my wheel loader or mini digger too? No. Weidemann, Schäffer, Giant, Takeuchi and Kubota diggers are hydrostatically driven and have no dry clutch. Compact tractors with HST (hydrostatic transmission) or a wet multi-plate clutch running in oil do not have this issue either. If you are unsure: a tractor with both a clutch pedal and a gear lever almost certainly has a dry plate.
Step 5: disconnect and trickle charge the battery
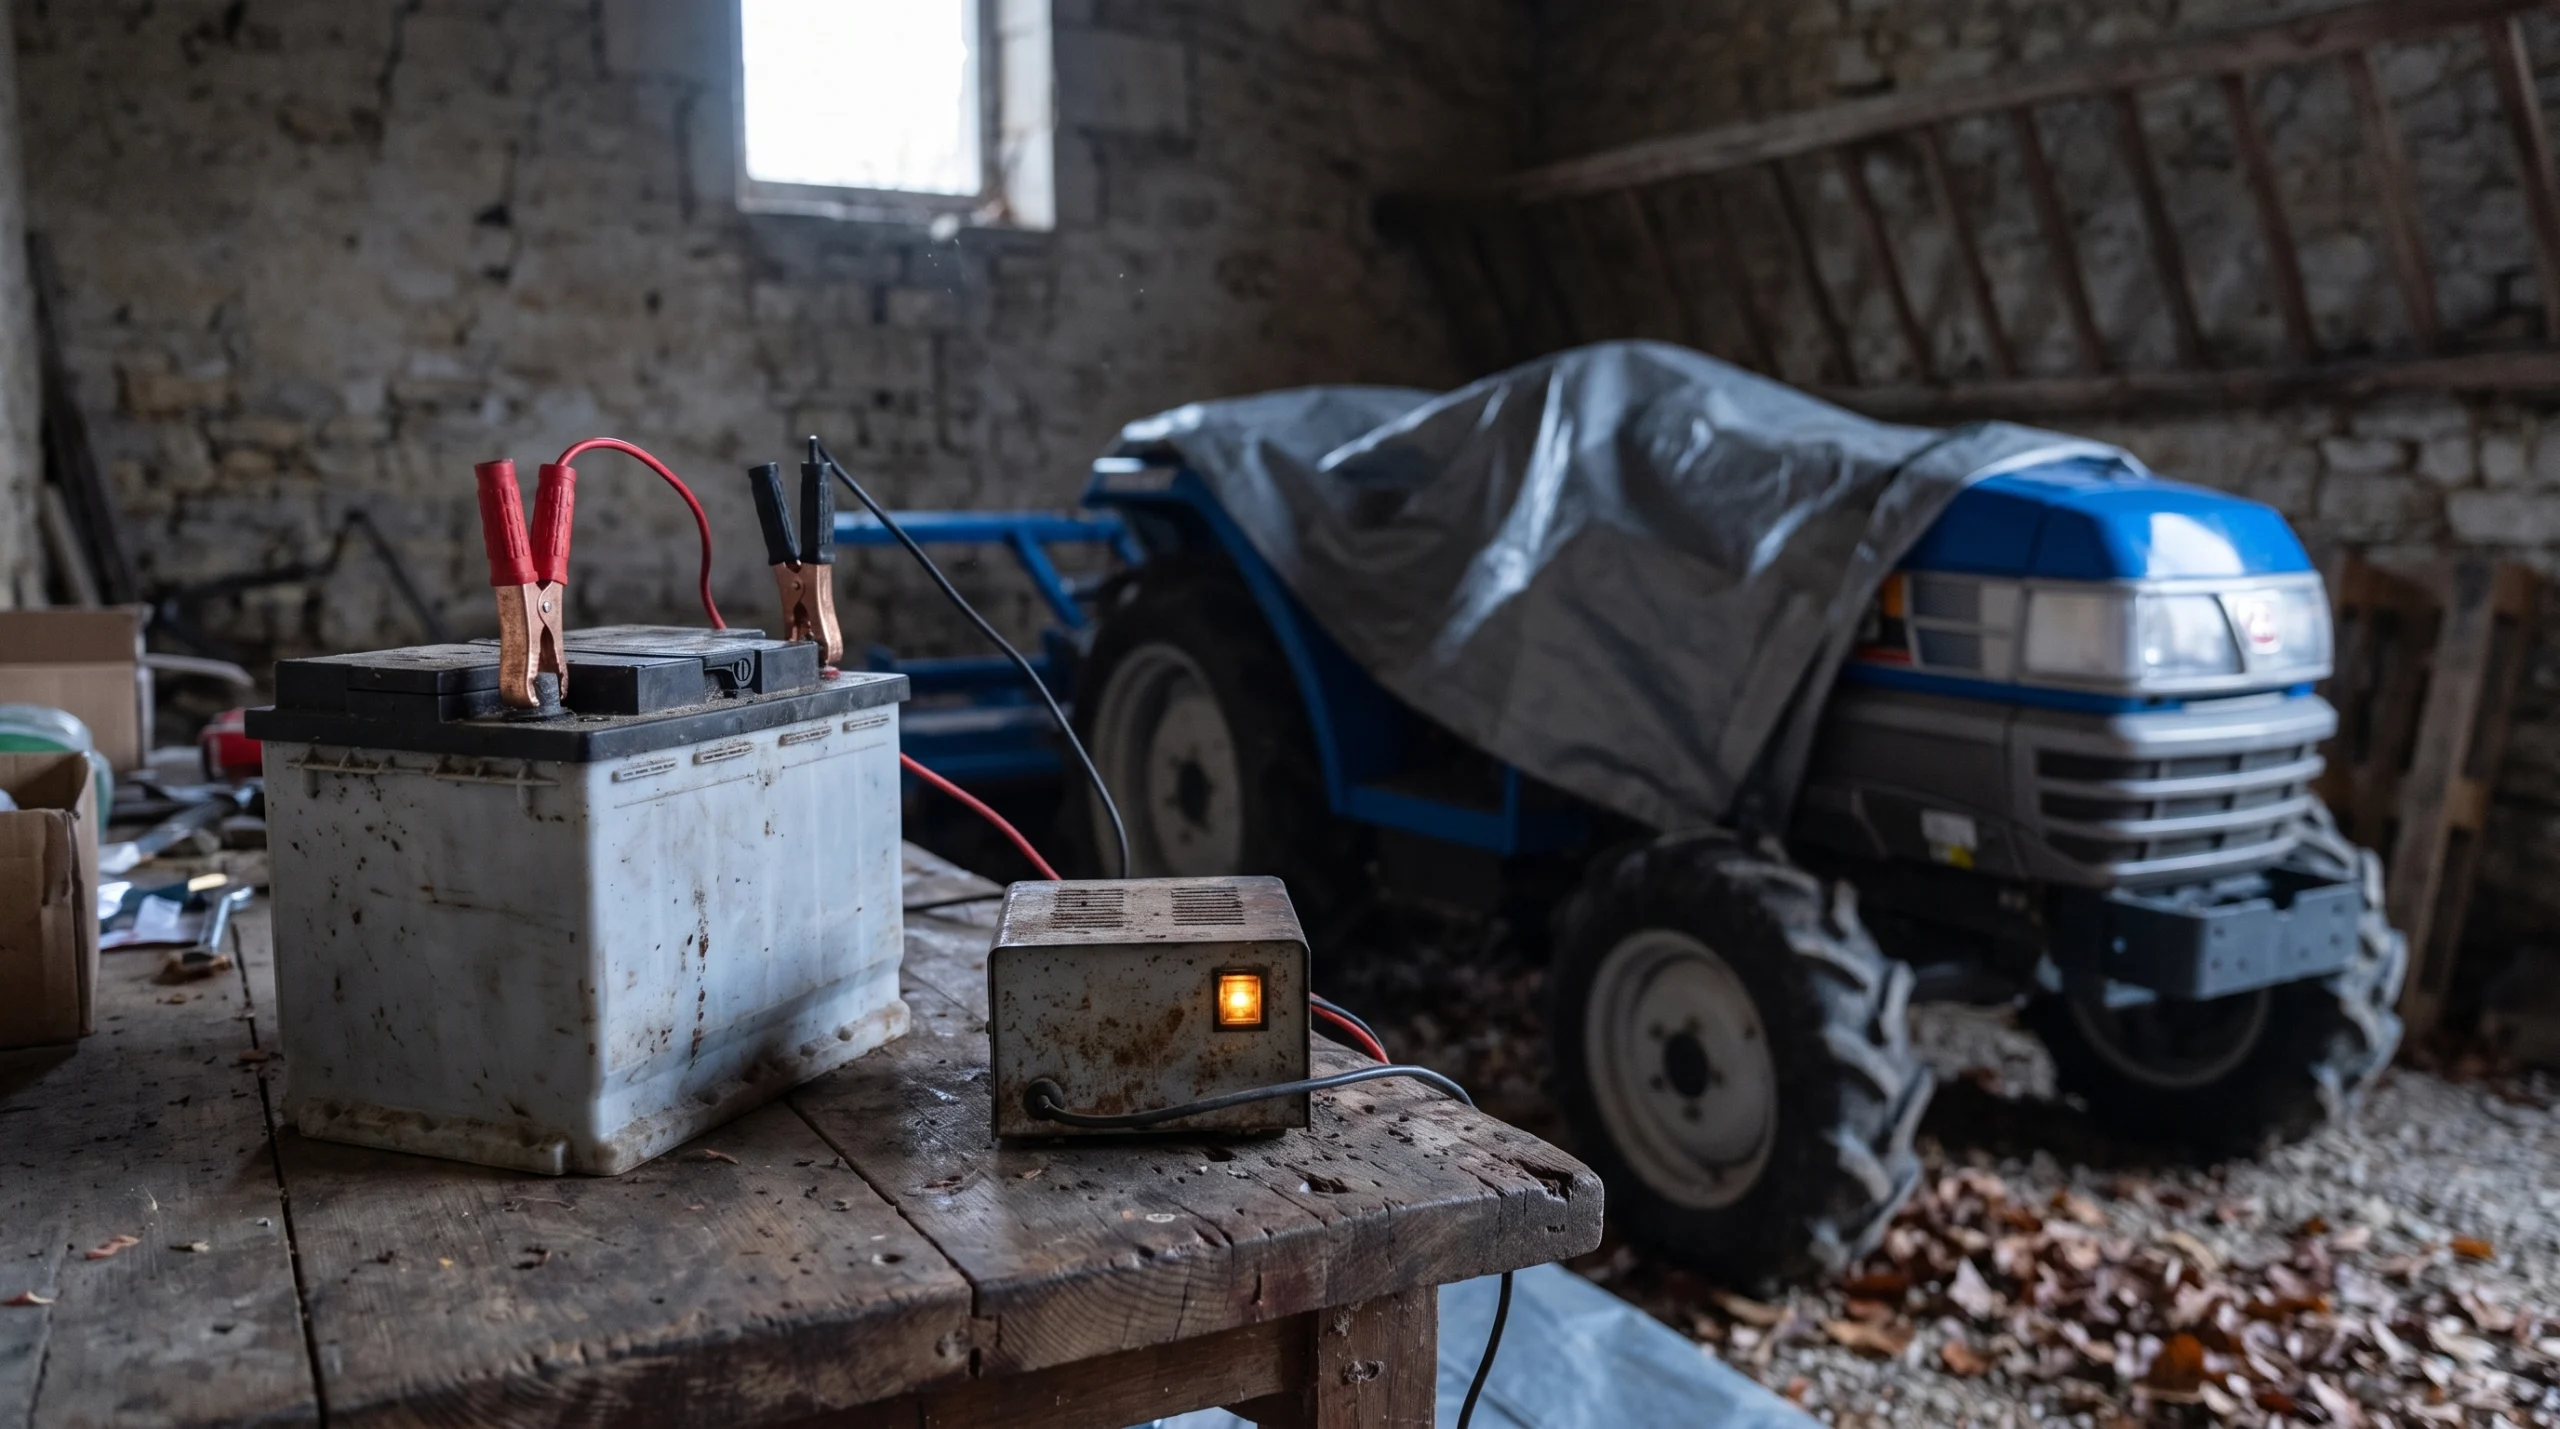
A lead-acid battery loses capacity in the cold and slowly discharges on its own. Modern machines with a display, hour meter or alarm add parasitic drain on top of that. A battery sitting at 30 percent for three months will sulphate and never come back to full capacity.
- Charge the battery fully and disconnect it, negative terminal first. Even better: remove it and store it somewhere frost-free in the shed or garage.
- Top it up every four to six weeks, or leave it permanently on a trickle charger with a maintenance mode.
- Clean the terminals and coat them lightly with terminal grease.
- Remove the key. That prevents parasitic drain and short circuits, and the manuals list it as a safety measure too.
Step 6: hydraulics, rams and attachments
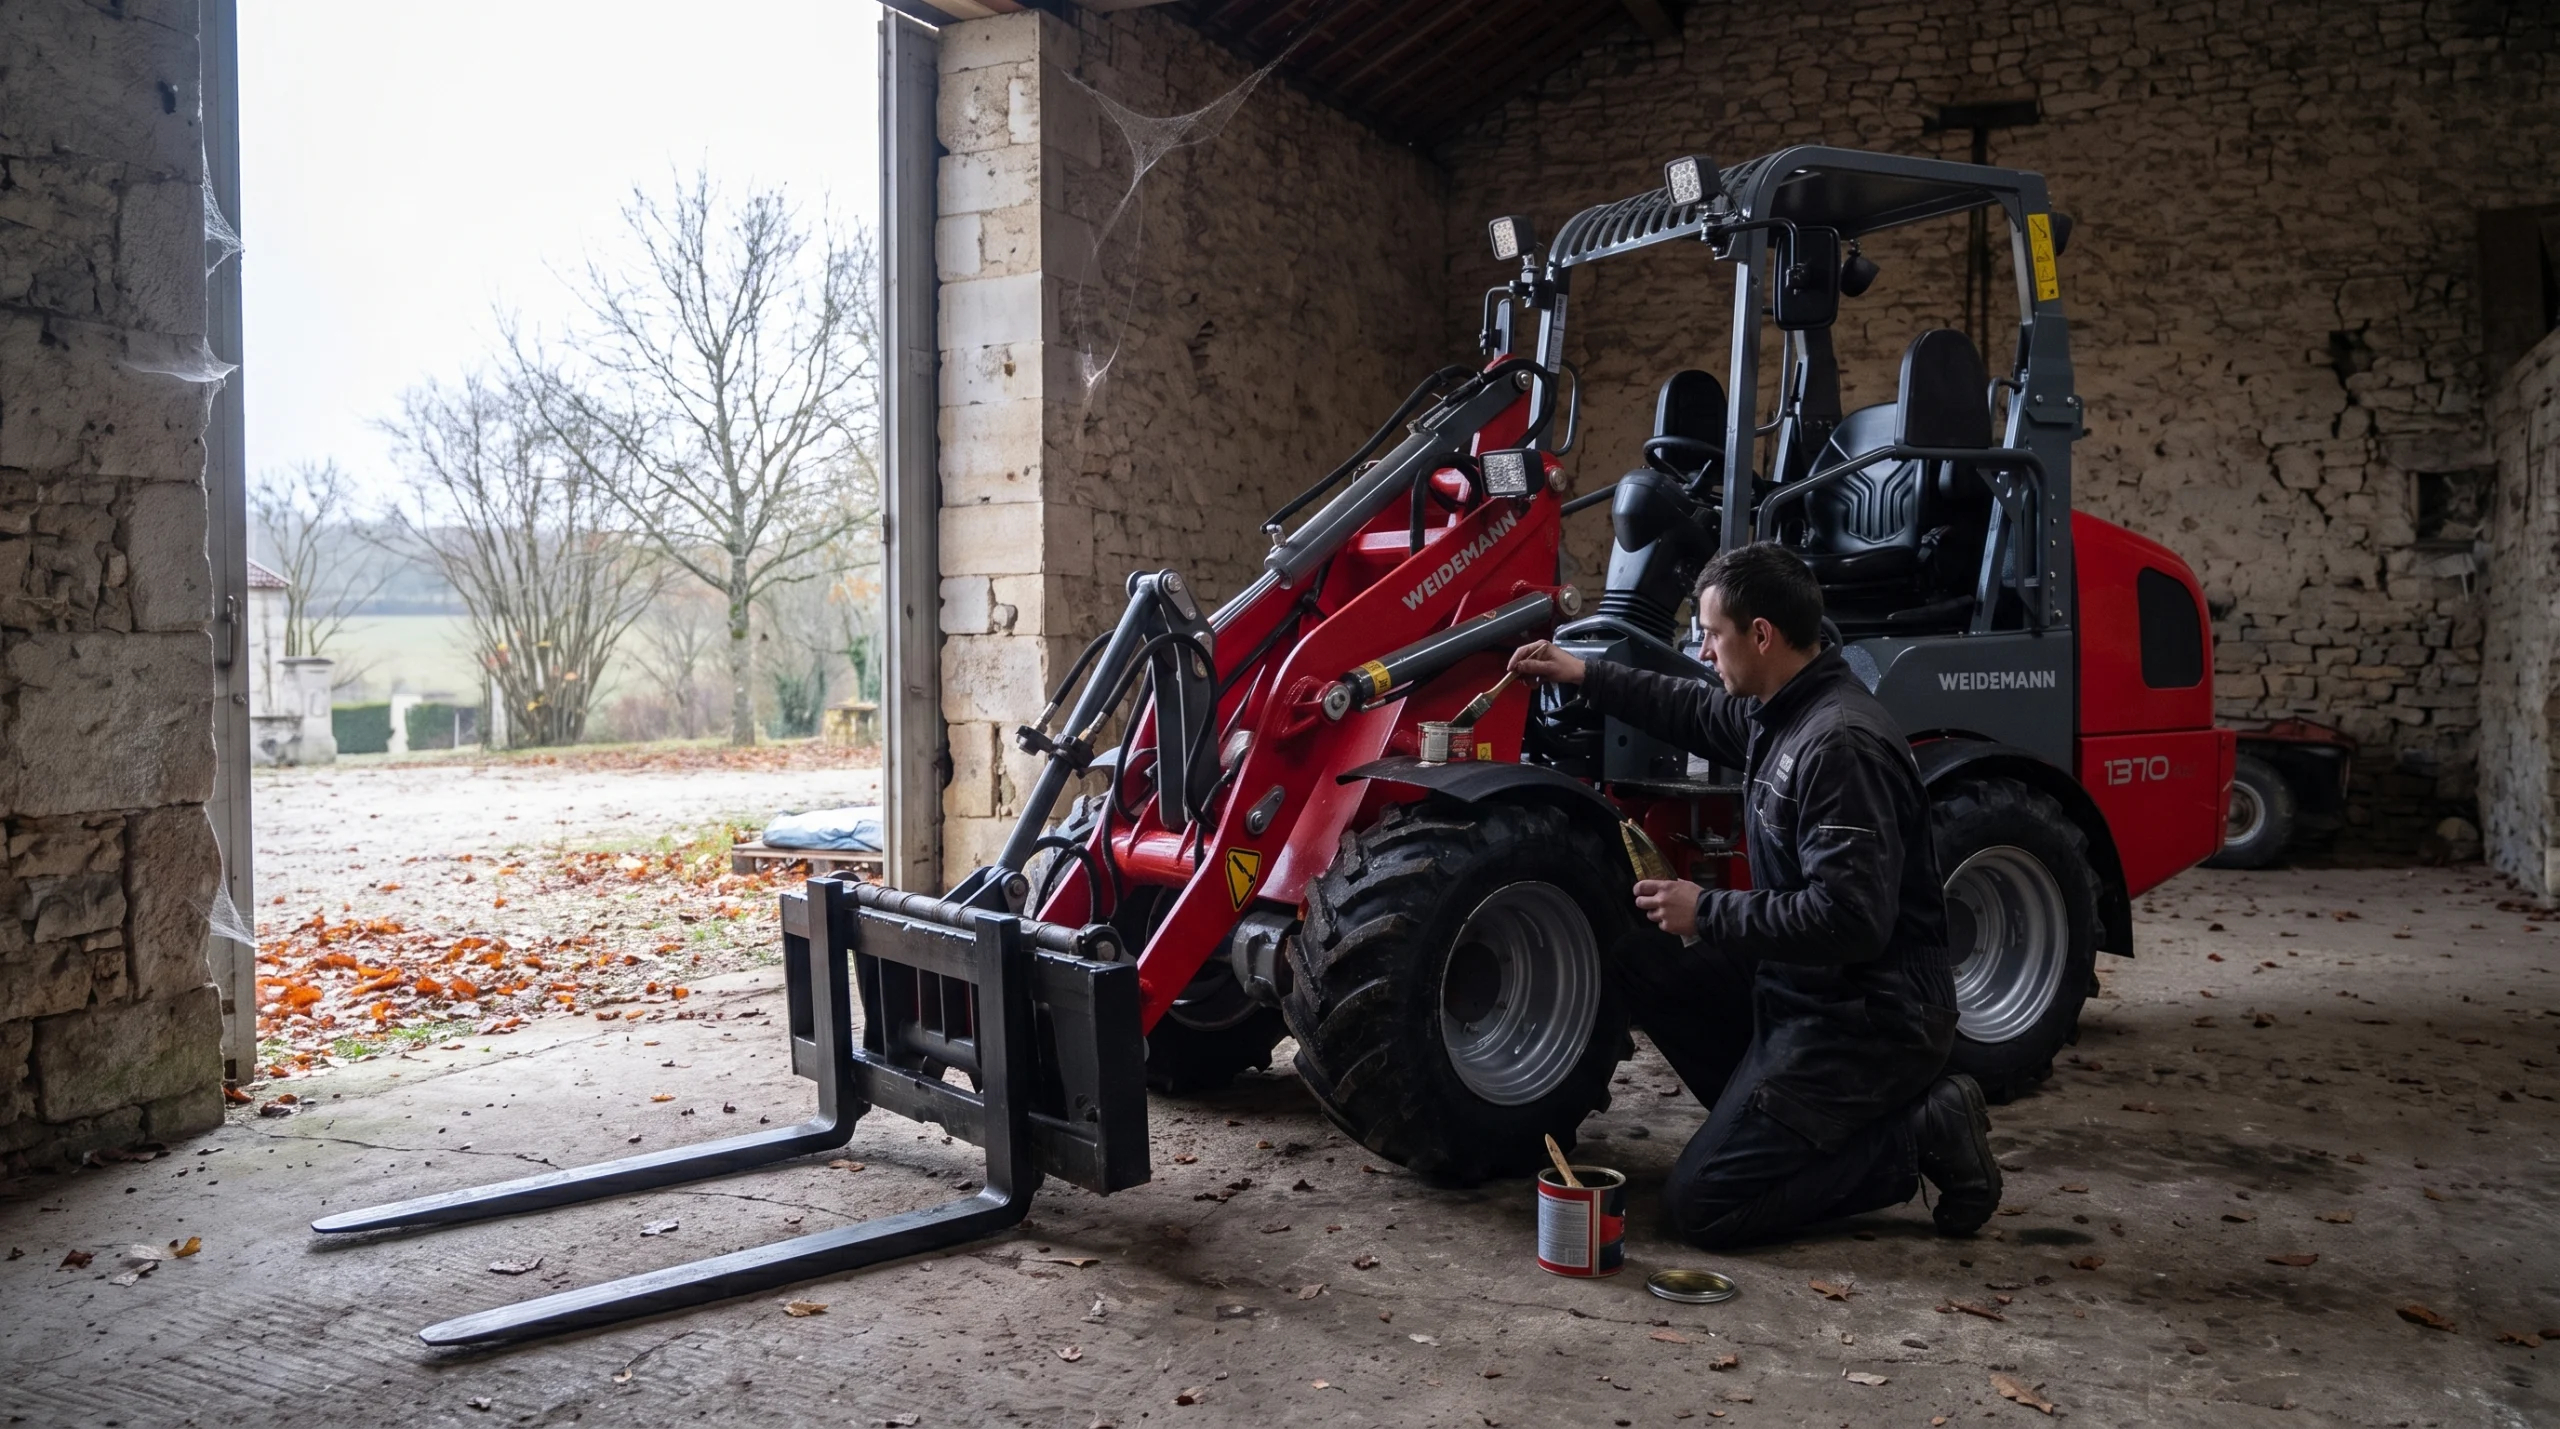
This is where a wheel loader or mini digger differs from a tractor. Bare ram rods left outdoors for months develop pitting corrosion, and every pit then damages the seal on the first stroke. Position the boom, bucket and dozer blade so that as much rod as possible is retracted, and coat any exposed rod with grease or a light preservative oil. Lower every attachment fully to the ground so no pressure remains in the hydraulic system.
For a tractor: lower the lift, disconnect the implement or set it down on the ground, and remove ballast weights (the Kubota manual specifies this to take load off tyres and axles). Grease every nipple, including those on the lift arms and front axle stub, until fresh grease appears: that pushes the old, moisture-laden grease back out. Coat lift rods, track rods, the PTO stub and other bare metal parts with grease or a PTFE spray.
Step 7: tyres, tracks and surface
- Inflate tyres slightly harder than normal, as both manuals recommend. That prevents flat spots and sidewall cracking from standing in the same spot for months. Return to normal pressure in spring.
- Tracks on a mini digger: clean them (caked-on mud holds moisture against the steel core) and slacken the tension a little compared with working tension. Rubber left under full tension for months ages faster.
- Stand on boards or paving slabs rather than directly on damp concrete or earth. Rising damp is the biggest source of rust for machines stored indoors.
Step 8: cleaning, covering and where you store it
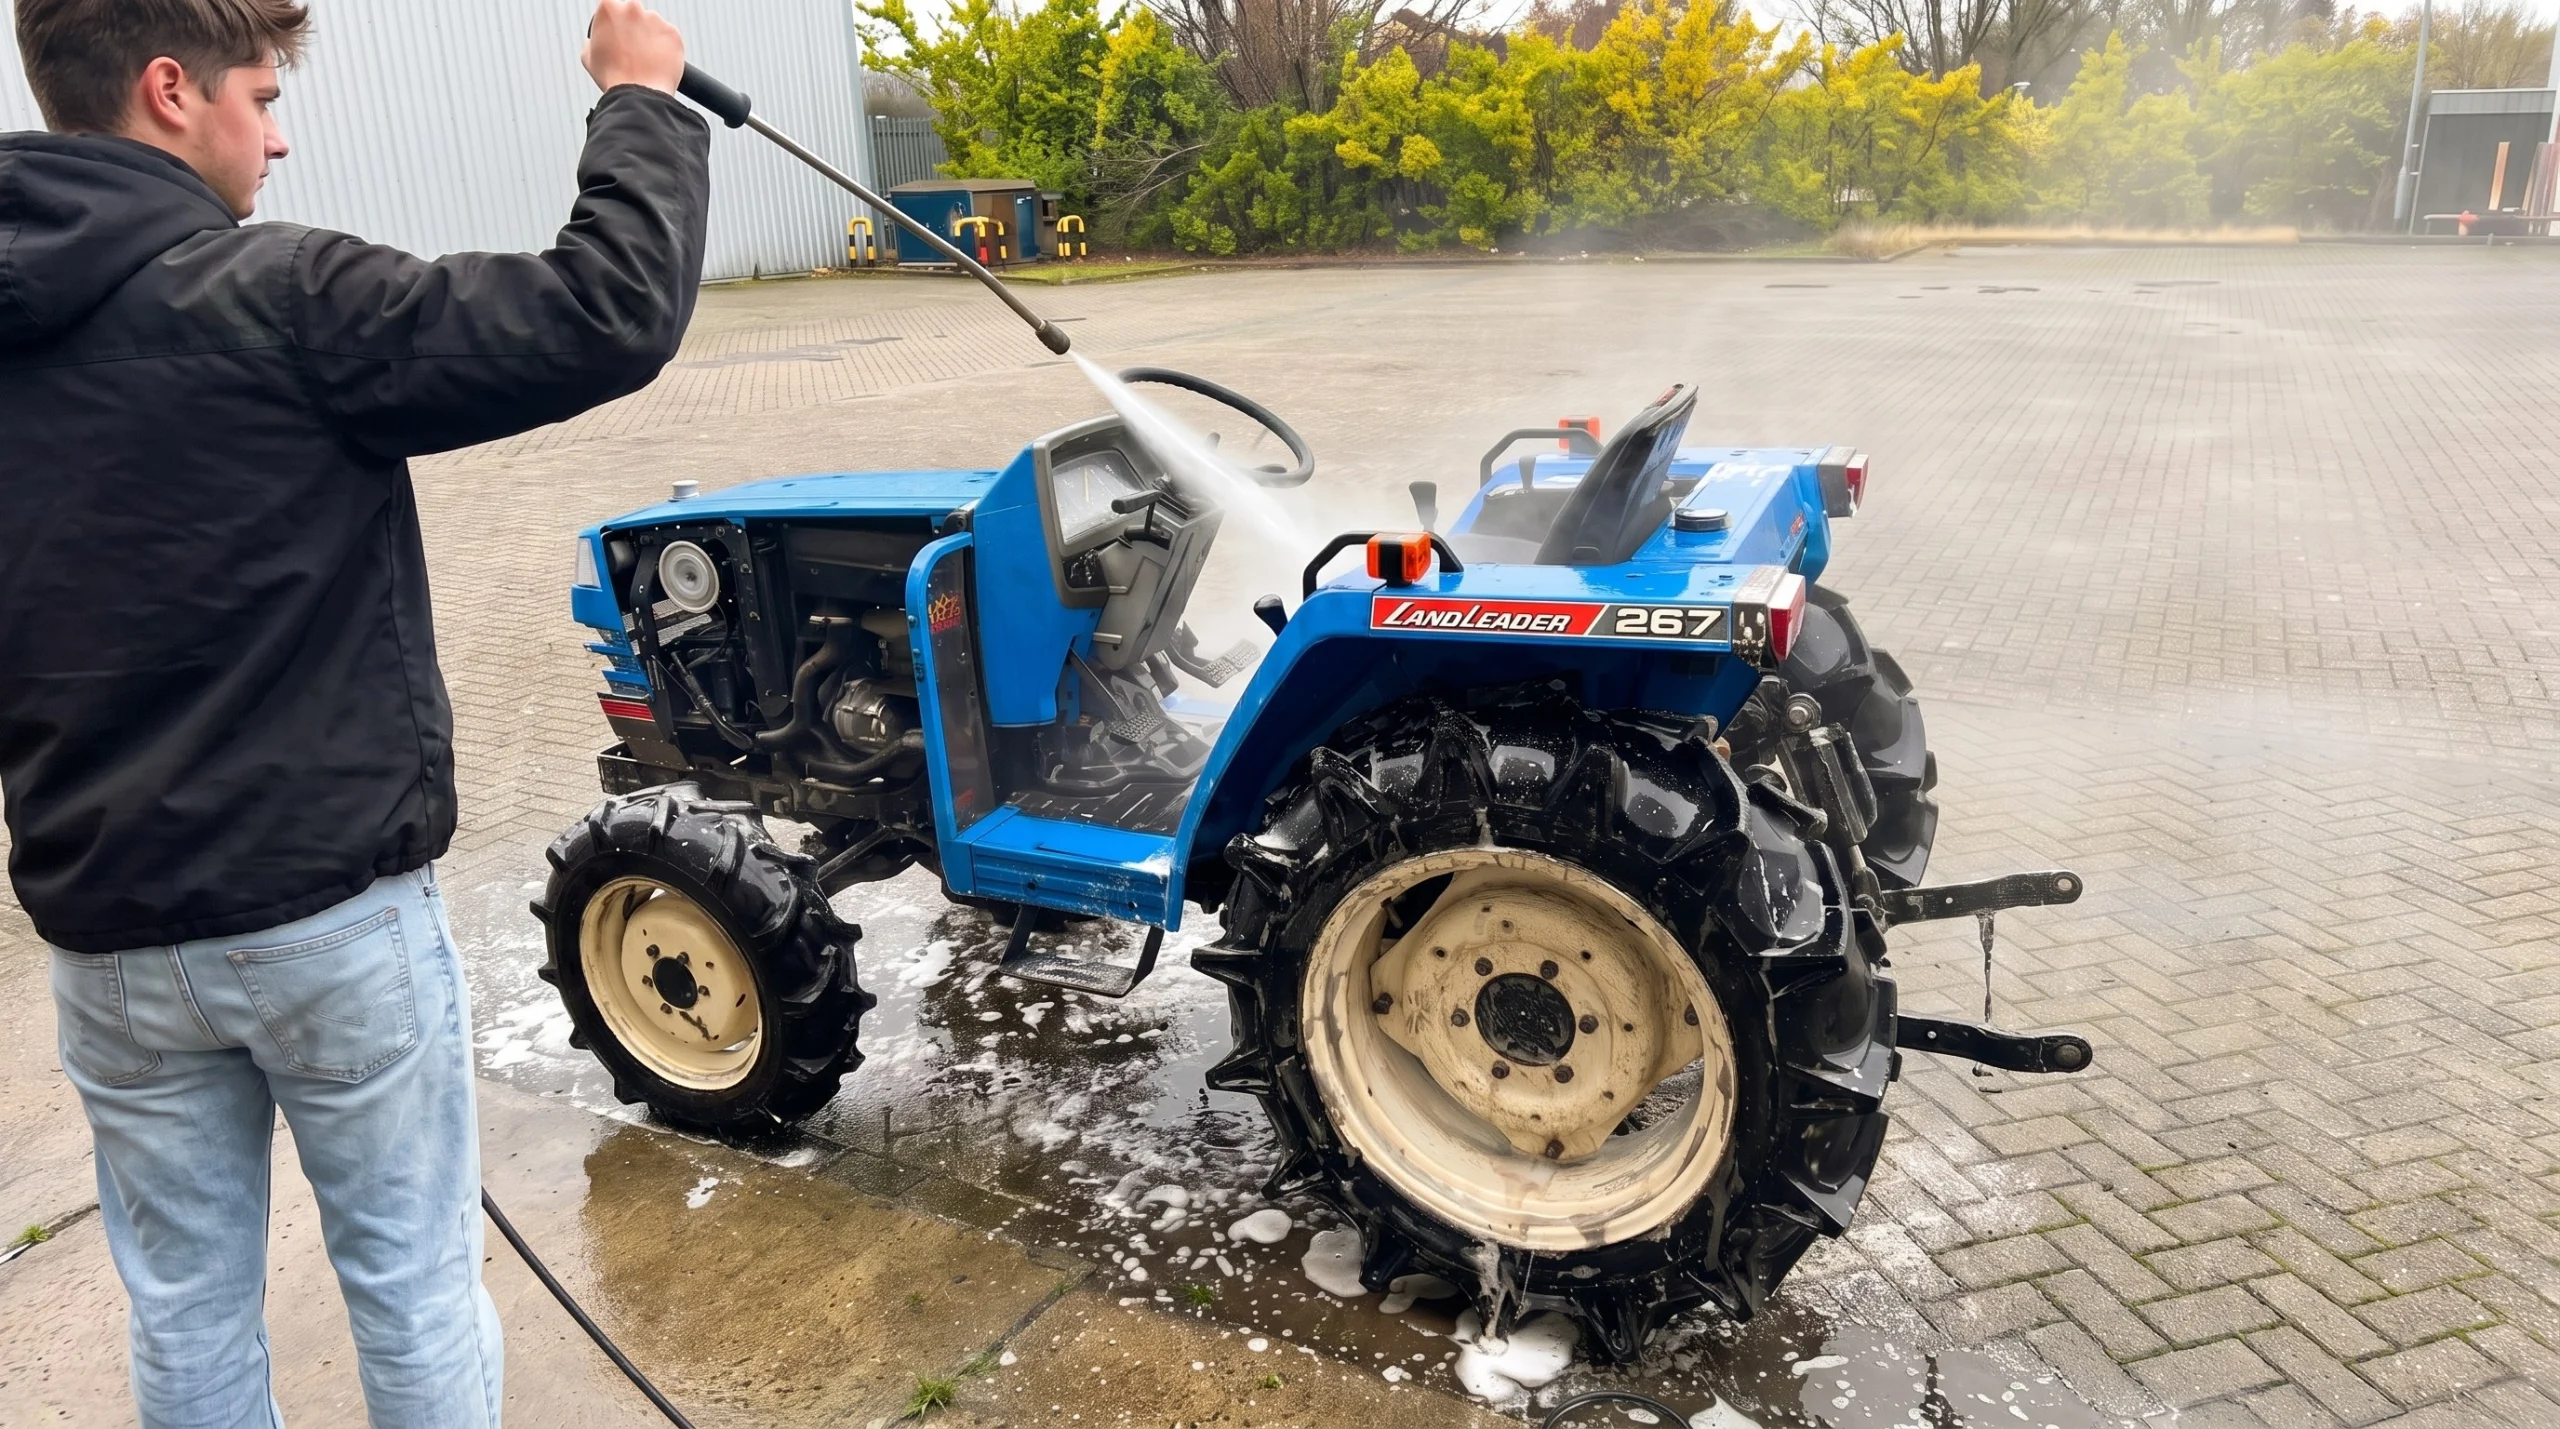
Clean and dry the machine thoroughly before storing it. Caked-on grass, clippings and mud trap moisture and cause rust right where they sit. Note the warning in the Iseki manual: never use a pressure washer on the dashboard, electrical components, bearings and decals. Let the engine idle and warm through briefly after washing so everything dries out.
Also:
- Check bolts, nuts and wheel bolts and retighten anything that has worked loose. Inspect wiring, battery cables and fuel lines for damage.
- Sort out known faults now. A small leak or a rough-running engine only gets worse in storage, and in spring you want to drive, not spanner around.
- Cover the exhaust and the air filter housing against moisture and mice. Mice love nesting in air filters and chewing on wiring; a piece of mesh or a rag in the exhaust saves a lot of grief. Just hang a reminder on the steering wheel so you remember to remove it.
- Store the machine somewhere dry and ventilated, not next to straw, hay or other combustible material. And only cover it once the engine and exhaust have fully cooled: a cover thrown over a hot exhaust is a genuine fire risk, and the manuals warn about it for good reason.
- Use a breathable cover. A sealed plastic sheet traps condensation rather than letting it escape.
Should you run it now and then, or leave it be?
Opinions differ here. The Kubota manual recommends running the engine for 10 to 15 minutes at just over 2,000 rpm every one to two months during storage, so the oil reaches every lubrication point again and condensation evaporates off. That is sound advice, with one important condition: the engine has to actually reach operating temperature. Five minutes of pottering at idle does more harm than good, because condensation just stays put in the sump and exhaust while the engine draws in cold, damp air without ever evaporating it.
If you do it, do it properly: reconnect the battery, release the clutch lock, run it outside or with the doors open, and take it for a short drive so the transmission, brakes, lift and hydraulics all get moved through their range. Afterwards, lock and cover everything again. If you cannot manage that properly, it is better to leave the machine standing untouched until spring.
Machines that keep working through winter
Plenty of wheel loaders and compact tractors do not stand idle at all: they clear snow, feed livestock or shift timber. Different priorities apply then:
- Preheating and glow plugs. In frost, the small indirect-injection diesel engines from Kubota, Yanmar and Iseki genuinely need their glow plugs. Follow the preheat time given in the manual (often 15 to 20 seconds at minus 5 degrees). If starting is poor, check that every glow plug is working and that the preheat relay is doing its job; on some older Iseki and Kubota models that relay is a known weak point.
- Winter-grade diesel and a full tank topped up after every working day, for the same condensation reasons as above.
- Warm up before working, cool down before parking. Let the engine come up to temperature gently after starting before you load it, and keep running for a short while after work so condensation has evaporated out of the engine and exhaust before you park it.
- Keep an eye on the battery. A winter battery working hard every day in the cold deserves regular time on the charger.
Spring check: bringing the machine out of storage
- Remove tags and covering material from the exhaust and air filter. Refill the cooling system if it was drained.
- Check oil levels: engine, transmission, front axle, hydraulics, power steering.
- Refit the battery, negative terminal last, fully charged.
- Return tyres to normal pressure, tracks to working tension.
- Open the fuel cock, check the sediment bowl, bleed the system if needed.
- Release the clutch lock, remove the wheel chocks.
- Preheat, start, and let the engine idle unloaded while it warms up. Watch the oil pressure and charge warning lights.
- Test the clutch, brakes (free play, equal on both sides), steering, lift, PTO and hydraulics unloaded before you start real work.
If the first run of the season coincides with the annual service, this is the moment for a filter set. That way you start the season with fresh oil, clean filters and a system you know is right.
Product tip: everything for winterising in one order
- Coolant rated to minus 40 degrees, suitable for any compact tractor (SKU-125001): the basis of every winter service.
- Radiator flush / professional cooling system cleaner (SKU-125007): for flushing beforehand when the history is unknown or the cooling system is old.
- General aluminium radiator cap (SKU-3240): replace when you change the coolant.
- 15W40 engine oil for Iseki, Kubota, Yanmar and other small diesels (SKU-15W40): fresh oil before storage.
- Diesel injector cleaner (SKU-60003): for the last tankful before winter.
Filter sets, glow plugs and radiator hoses can be found per model in our knowledge base or via the search function using your engine type.