



Iseki SIAL TF15, TF17 and TF19 workshop data — torque values, adjustments and part numbers
Iseki SIAL TF15, TF17 and TF19 workshop data — torque values, adjustments and part numbers
Everything you need to work on your SIAL yourself: torque values, adjustment specs, part numbers and fuses, all on one page.
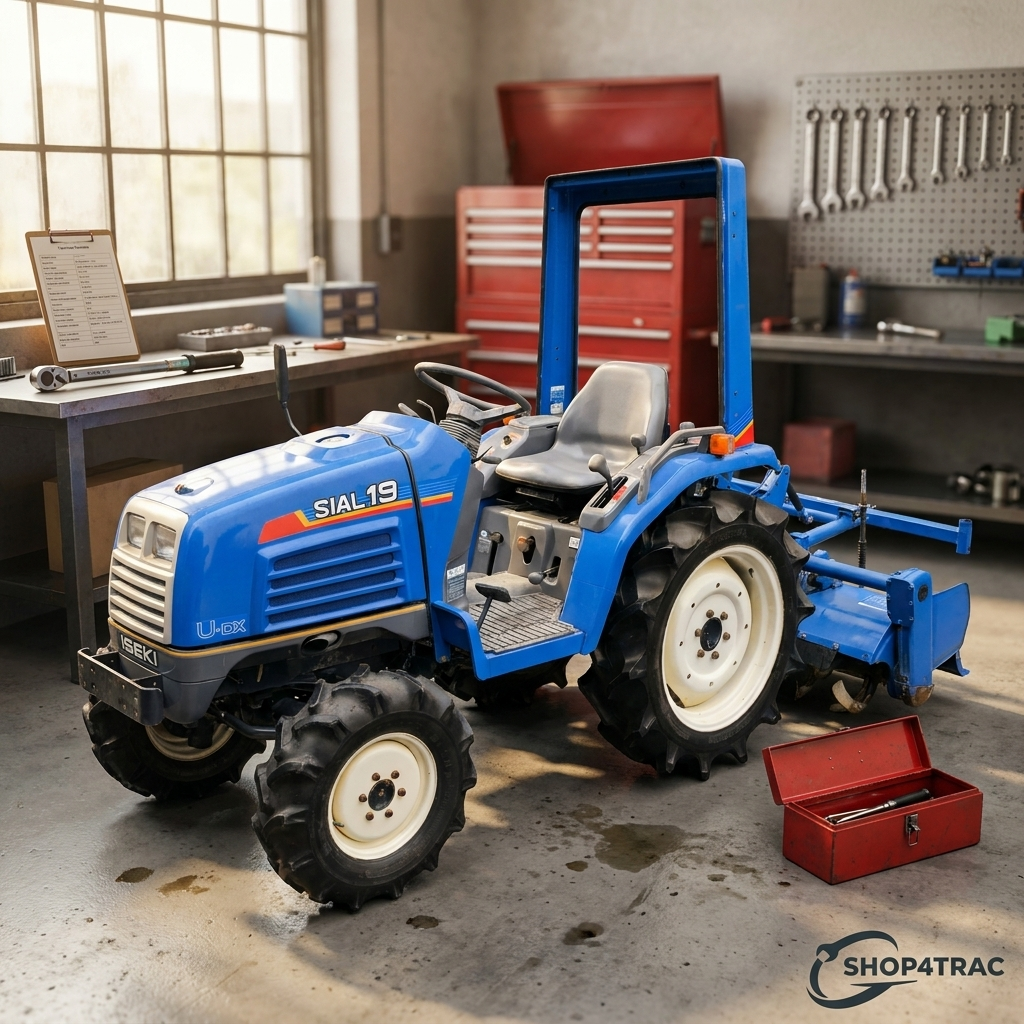
Planning to work on your Iseki SIAL yourself? Then you need more than just tools — you also need the correct values. A wheel bolt that's too loose can cost you dearly, while one that's too tight results in snapped threads. A clutch with the wrong free play will either slip or never fully disengage. In this article you'll find all the workshop data for the TF15, TF17 and TF19 in one place — torque values, adjustment specs, part numbers and fuses — all taken directly from the original Iseki manual.
Torque values — wheel nuts and wheel bolts
Iseki specifies torque values in kg·cm (kilogram-force centimetre, a Japanese unit). If you have a modern torque wrench in Newton metres, use the following rule of thumb: 1 kg·cm ≈ 0.098 Nm. So 1000 kg·cm is roughly 98 Nm.
| Location | Model / version | Torque (kg·cm) | Approx. in Nm |
|---|---|---|---|
| Front wheels (all) | TF15 / TF17 / TF19 | 900 – 1100 | 88 – 108 Nm |
| Rear wheels (general range) | TF15 / TF17 / TF19 | 1000 – 1200 | 98 – 118 Nm |
| Rear wheels (standard track) | TF15 | 950 | ~93 Nm |
| Rear wheels (standard track) | TF17 / TF19 | 1000 | ~98 Nm |
| Rear wheels (HJ version, factory setting) | TF15-HJ / TF19-HJ | 870 / 920 / 970 / 1020 | 85 – 100 Nm |
Check the wheel nuts after every tyre fitting and again after the first 10 operating hours. New tyres can settle slightly, which may loosen bolts. It's also wise to recheck after a few hours of work following a seasonal wheel change.
Tyre pressure — per model and version
Tyre pressure varies by version. The complete overview (see the specifications article) lists exact figures per model, but as a rule of thumb: 2.0 kgf/cm² (approx. 2.0 bar) for the front and 1.6 kgf/cm² (approx. 1.6 bar) for the rear. Some 06 and HS versions require 1.8 bar at the front.
Check tyre pressure at least every 100 operating hours, and always if you notice a visible deviation such as tilting or flattening. Always do this with cold tyres, before the first trip of the day — warm tyres give a distorted reading.
Adjusting the clutch — 20 to 30 millimetres free play
The free play of the clutch pedal should be 20 to 30 mm . You measure this by slowly pressing the pedal down by hand until you feel resistance — that's the point where the clutch starts to disengage. The distance up to that point is the free play.
If the play is too small, the release bearing keeps pushing constantly against the clutch fingers. Result: premature wear of the release bearing, and a clutch that starts slipping sooner under load. If the play is too large, the clutch never fully disengages. Shifting becomes heavy and you'll hear the gears "grinding".
Adjustment procedure:
- Apply the handbrake and chock the wheels.
- Locate the adjustable rod (turnbuckle) of the clutch cable underneath the tractor.
- Loosen the lock nut on the turnbuckle.
- Turn the turnbuckle in or out until the pedal play is between 20 and 30 mm.
- Tighten the lock nut firmly — and check that it's really secure, otherwise everything will shift again.
- Test: the pedal should spring back smoothly, and the clutch should be fully disengaged at roughly half of the pedal stroke.
Adjusting the brakes — equal play is essential
The SIAL has two independent brake pedals — left for the left rear wheel, right for the right. Handy for fieldwork (sharp turning), but they must be linked together when driving on public roads. The free play for each pedal must be 20 to 30 mm and just as importantly: the depression depth of the left and right pedals must be equal.
Adjustment procedure:
- Disconnect the brake pedals from each other (remove the linking bracket).
- Loosen the lock nut on the adjusting rod.
- Adjust the rod until the free play of that pedal falls within 20–30 mm.
- Do the same on the other side, making sure both pedals engage at the same depression depth.
- Tighten both lock nuts securely.
- Reconnect the pedals and check the parking brake: it must engage and release without any problems.
- Drive a short distance at low speed and test the braking behaviour — the tractor must not pull to one side.
V-belt tension — 10 to 12 mm deflection
The V-belt drives the alternator and the water pump. A belt that's too slack causes slipping, engine overheating and an undercharged battery. A belt that's too tight puts unnecessary strain on the alternator and water pump bearings, leading to premature failure.
You check correct tension by pressing your finger in the middle of the belt (between the alternator and water pump pulley). The deflection should be 10 to 12 mm . No more, no less.
Adjustment procedure:
- Loosen the alternator's mounting nut and bolt (two points: the pivot point and the tensioning strap).
- Slide the alternator out or in until you get the correct belt tension.
- Tighten the tensioning strap first, then the mounting bolt at the pivot point.
- Check again with your finger — the tension may have shifted slightly during tightening.
- Inspect the belt for cracks, fraying, glossy patches (a sign of slipping) or hardening. Replace it if in any doubt.
Steering play and toe-in
Steering play. The permitted play at the rim of the steering wheel is 30 to 60 mm. More play than that indicates wear in the steering box, worn ball joints on the tie rods, or excessive bearing play in the spindles. Measure by pointing the front wheels straight ahead and moving the steering wheel back and forth without the wheels turning with it — whatever you move at the rim of the wheel is your play.
Toe-in. Measure the difference between the front and back of the front wheels, exactly at axle height. The manual calls this distance A (front) and B (rear). The difference (B minus A) should be 2 to 6 mm — so the front wheels point slightly "pigeon-toed" inward when viewed from above the SIAL. This prevents wandering and ensures even tyre wear.
Toe-in is adjusted via the tie rods. That sounds simple, but if you've never done it before: have it done by a workshop. Incorrect toe-in will ruin your front tyres within a few hours of work.
Wear part numbers — straight from the manual
Below are the OEM numbers for the most important wear parts as listed in the original Iseki SIAL parts catalogue. For each part you'll find out whether Shop4trac supplies it and where to find it.
| No. | Part | Iseki part number | Available at Shop4trac? |
|---|---|---|---|
| 1 | Air filter element | 1575-104-202-0 | ✅ Air filter SIAL TF3-TF17 — €18.50 |
| 2 | Fuel filter ASSY | 1614-105-200-0 | ✅ part of filter set |
| 3 | Fuel filter element | 1415-102-011-0 | ✅ part of filter set |
| 4 | Hydraulic filter (except H version) | 1614-508-262-0 | ✅ Hydraulic filter TF15-TF23 — €38.50 |
| 4-1 | Hydraulic filter (H version) | 1614-508-501-0 | ✅ Hydraulic filter SIAL — €26.50 |
| 5 | Hydraulic filter (WX version) | 1588-508-272-0 | ✅ Hydraulic filter TF15-TF23 — €38.50 |
| 6 | Engine oil filter cartridge | 6213-240-002-0 | ✅ Engine oil filter SIAL — €9.50 |
| — | Glow plug (E3100 / E3112) | 6281-410-010-00 | ✅ Glow plug E3100/E3112 — €18.50 |
| — | Front axle stub shaft seal | TC488010 | ✅ Stub shaft seal TF15-TF321 — €12.50 |
Fuses — what's where and which rating
The SIAL's fuse box is located under the bonnet, close to the battery. The standard fuse panel contains eight working fuses plus a set of spares. Most fuses are the common mini-blade type and are simply available from any car parts shop — there's no need to visit a dealer for them.
| No. | Circuit / function | Rating | Part number |
|---|---|---|---|
| 7 | Fuel system (stop solenoid) | 3 A | various |
| 8 | Ignition switch / stop circuit | 5 A | various |
| 9 | Alternator, instrument panel | 10 A | various |
| 10 | Lights, horn, indicators | 15 A | various |
| 11 | Fusible link (main fuse) | — | 3650-261-261-0 |
| 12 | Slow-blow fuse (main supply) | 50 A | 1614-690-202-0 |
| 13 | Headlight (per unit) | 12 V / 25-25 W | 1614-650-220-0 |
| 14 | Indicator light (per unit) | 12 V / 20 W | 1444-621-242-0 |
Two fuses deserve extra explanation. The fusible link (number 11) is a special fuse wire that protects the entire onboard electrical system — if it blows, the tractor has genuinely experienced a short circuit, and you must find out what's wrong before replacing it. The 50 A slow-blow fuse (number 12) sits in the main supply and acts as a secondary safeguard. If both appear fine but you still get no power to the dashboard, these are the first two things to check.
Checklist: before you pick up the wrench
A quick summary to keep handy when working on your tractor:
- ✅ Front wheels: 900–1100 kg·cm (88–108 Nm)
- ✅ Rear wheels: 1000–1200 kg·cm (98–118 Nm), standard ~950–1000
- ✅ Clutch pedal free play: 20–30 mm
- ✅ Brake pedal free play: 20–30 mm — left and right equal!
- ✅ V-belt deflection under finger pressure: 10–12 mm
- ✅ Steering play: 30–60 mm at the wheel rim
- ✅ Toe-in (B − A): 2–6 mm
- ✅ Tyre pressure: standard 2.0 bar front / 1.6 bar rear (cold!)
Print it out if needed and hang it in the shed. Knowing and respecting these values already prevents half of all possible mechanical mistakes.
Looking for parts for your Iseki SIAL?
Shop4trac supplies filters, clutch kits, V-belts, glow plugs, seals and more for the TF15, TF17 and TF19 — fast delivery from the Netherlands.