
Replacing a Front Axle Oil Seal – A Step-by-Step Guide for any mini tractor
Mini tractors are indispensable workhorses on small farms and farms around the world. From tilling fields to maintaining landscaping, these compact machines deliver powerful performance. But as with any mechanical device, they can experience wear and tear and malfunction. A common problem is oil leakage, often caused by worn seals.
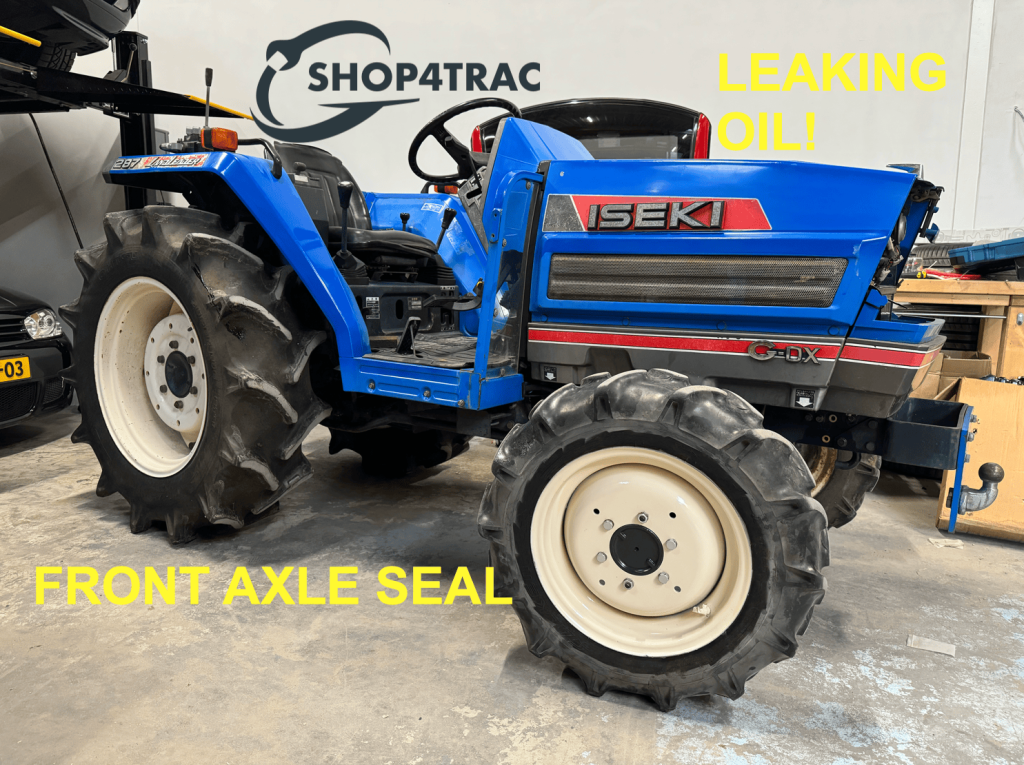
In this blog we focus specifically on replacing a front axle seal on an Iseki mini tractor, with the TA287 Landleader as an example. However, this procedure may also apply to other models and brands of mini tractors. We will rely on an instructional video to make the steps clear.
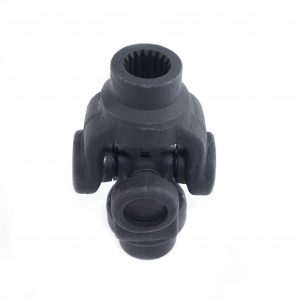
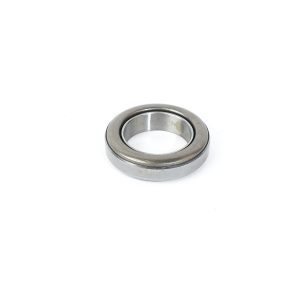
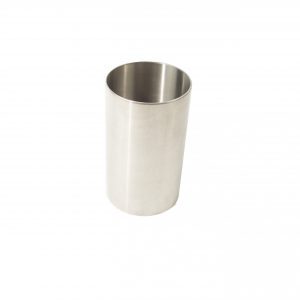
The front axle seal of the Iseki TA 207 – TA317
Iseki keerring vooras TA207 – TA317 | TA530 – 5140 | MF1250 | BQ3048E
What is a front axle oil seal and why does it need to be replaced?
A front axle oil seal is a seal that is located between the axle and the housing of the front axle. Its main function is to retain oil and prevent dirt and water from entering the axle. Over time, the oil seal can wear out through normal use, which can lead to oil leakage around the front axle.
It is essential to replace a worn oil seal in a timely manner to prevent further damage to the mini tractor and to ensure proper operation.
Step-by-Step Guide to Replacing a Front Axle Oil Seal :
For a visual reference and a step-by-step demonstration, watch the attached video explaining how to do this on an Iseki TA287 Landleader. Here is a summary of the most important steps:
- Safety First: Make sure the tractor is on level ground and the engine is turned off. Use appropriate safety equipment, such as gloves and safety glasses.
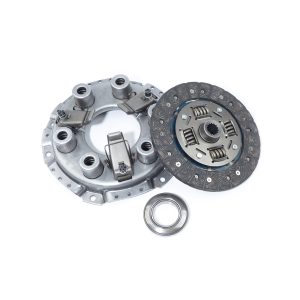
- Removing the wheel hub: Begin by removing the wheel hub according to the manufacturer’s instructions. This gives access to the front axle and oil seal.
- Removing the old seal: Use suitable tools, such as a seal puller, to carefully remove the old seal. Make sure the area around the axle is clean before continuing. If you do not have this available, use pliers.
- Installing the new seal: Place the new seal in place and use an appropriate tool to gently and evenly press it into the housing. Make sure the seal is completely straight and is not damaged during the installation process.
- Replacing the wheel hub: After the new seal is installed, reinstall the wheel hub according to the manufacturer’s instructions. Check that all parts are securely fastened. It is important to first clean this surface with, for example, brake cleaner and then lubricate it with 80W90 at a later time.
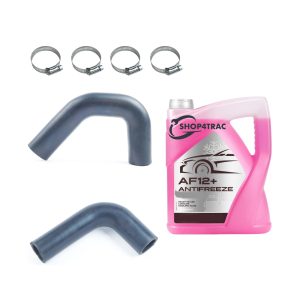
- Replace and/or add oil: After you have loosened the wheel hub, it is important to top up and/or preferably replace the oil. The oil you use for this is 80W90:
- Inspection and testing: Before putting the tractor back into service, check the front axle for any leaks and, if necessary, perform a test drive to ensure everything is functioning properly.
Replacing a front axle seal on an Iseki mini tractor, or a mini tractor in general, requires care and accuracy to ensure that the tractor can perform optimally again without oil leaks. By following these steps and seeking professional advice if necessary, you can ensure that your mini tractor remains in top condition and ready for all tasks on your farm.